Ks0133 keyestudio EASY plug MQ135 Air Quality Sensor
Introduction
MQ135 sensor uses SnO2 sensitive material because SnO2 has low electrical conductivity in the clean air.
When surrounded by polluted air, the electrical conductivity of MQ135 sensor will increase with the increase of pollutants, and the change in electrical conductivity can be converted to corresponding output signal.
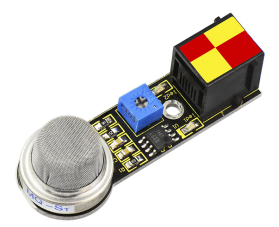
You can rotate the potentiometer on the sensor to adjust the sensitivity. MQ135 has a high sensitivity to ammonia, sulfide, benzene vapor, smoke and other harmful gases.
This module should be used together with EASY plug control board.
Special Note:
The sensor/module is equipped with the RJ11 6P6C interface, compatible with our keyestudio EASY plug Control Board with RJ11 6P6C interface.
If you have the control board of other brands, it is also equipped with the RJ11 6P6C interface but has different internal line sequence, can’t be used compatibly with our sensor/module.
Features
- Interface: Easy plug
- Sensor type: Semiconductor
- Operating voltage: 5V DC
- Load resistance: Adjustable RL
- Quick response and high sensitivity
- Target gas: ammonia; methylbenzene; hydrogen
Technical Details
- Dimensions: 56mm*20mm*18mm
- Weight: 9.2g
Connect It Up
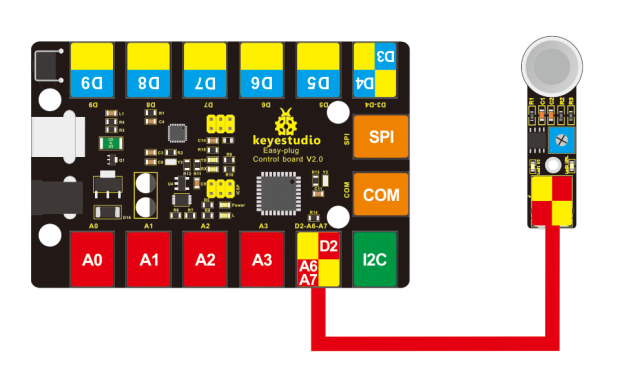
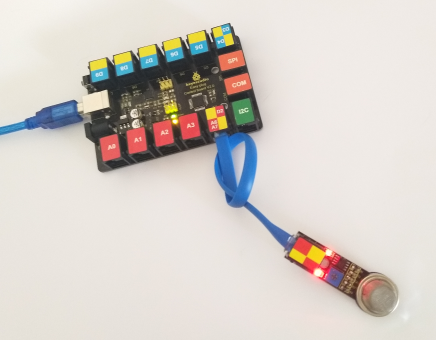
Connect the EASY Plug MQ135 sensor to control board using an RJ11 cable. Then connect the control board to your PC with a USB cable.

Upload the Code
Copy and paste below code to Arduino IDE and upload.
int gas_din=2;
int gas_ain=A7;
int led=13;
int ad_value;
void setup()
{
  pinMode(led,OUTPUT);
  pinMode(gas_din,INPUT);
  pinMode(gas_ain,INPUT);
  Serial.begin(9600);
}
void loop()
{
  ad_value=analogRead(gas_ain);
  if(digitalRead(gas_din)==LOW)
  {
    digitalWrite(led,HIGH);
    Serial.println("Gas leakage");
    Serial.println(ad_value);
  }
  else
  {
    digitalWrite(led,LOW);
Serial.println("Gas not leak");
    Serial.println(ad_value);
  }
  delay(500);
}
What You Should See
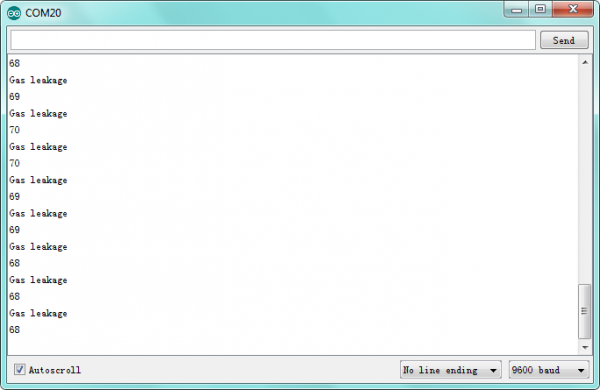
Done uploading the test code, open the serial monitor and set the baud rate to 9600, you should be able to see the “Gas leakage” and analog value.


Resources
https://fs.keyestudio.com/KS0133
