Ks0273 keyestudio GY-ML8511 Ultraviolet Sensor Module: Difference between revisions
Keyestudio (talk | contribs) (→Result) |
Keyestudio (talk | contribs) (→Result) |
||
| Line 54: | Line 54: | ||
<br> | <br> | ||
==Result == | ==Result == | ||
Connect the wire and burn the program; after powered-on, open the serial monitor of Arduino IDE and see the value. | Connect the wire and burn the program; after powered-on, open the serial monitor of Arduino IDE and see the value below. | ||
<br>[[File:KS0273(1.png|700px|frameless|thumb]]<br> | <br>[[File:KS0273(1.png|700px|frameless|thumb]]<br> | ||
<br> | <br> | ||
Revision as of 15:26, 15 May 2019
Introduction
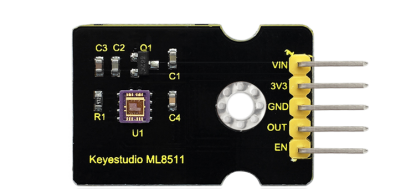
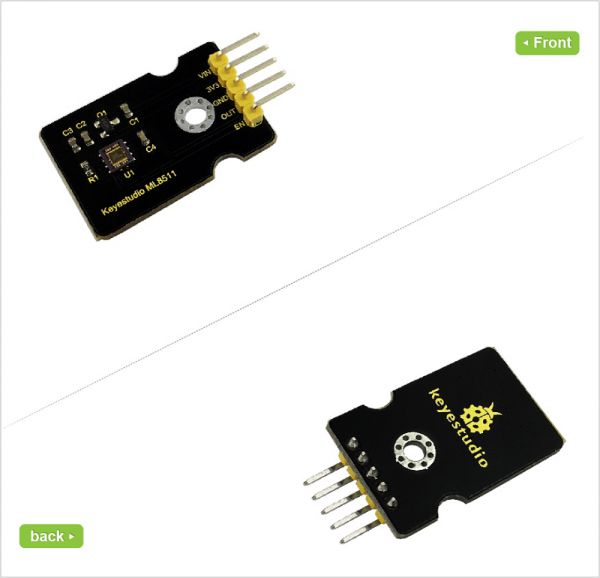
The module uses a common ML8511 UV sensor original, which can be used to detect indoor or outdoor UV density.
The sensor IC uses a high integrated SOI-CMOS technology, suitable for digital and analog circuits.
By the principle of converting the photocurrent to the voltage, it can detect the UV intensity and is well used for external circuits.
ML8511 can be proportional to the UV light quantity to output analog voltage, so it can be directly connected to the built-in MCU A / D digital / analog converter without photoelectric conversion circuit.
Using small and thin surface package, it is suitable for portable equipment.
The model also has a fast power saving mode up to 0.1uA, suitable for wearable smart devices, mobile phones and other equipment.
Specification
- Working Voltage:DC 3.3-5V
- Working Temperature:-20~70°C
- Sensitive Area:UV-A, UV-B
- Sensitive Wavelength: 280-390nm
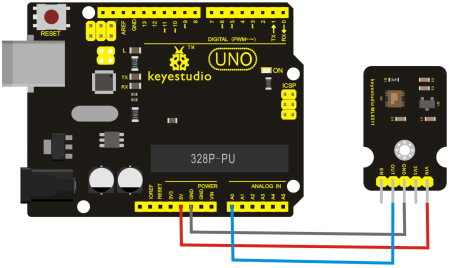
Connection Diagram
Sample Code
/*
  AnalogReadSerial
  Reads an analog input on pin 0, prints the result to the serial monitor.
  Attach the center pin of a potentiometer to pin A0, and the outside pins to +5V and ground.

 This example code is in the public domain.
 */

// the setup routine runs once when you press reset:
void setup() {
  // initialize serial communication at 9600 bits per second:
  Serial.begin(9600);
}

// the loop routine runs over and over again forever:
void loop() {
  // read the input on analog pin 0:
  int sensorValue = analogRead(A0);
  // print out the value you read:
  Serial.println(sensorValue);
  delay(1);        // delay in between reads for stability
}
Result
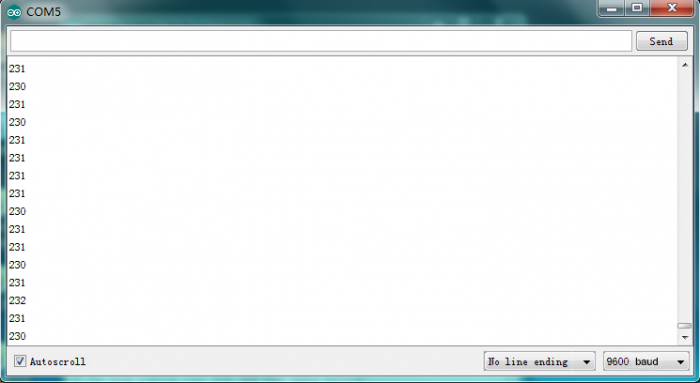
Connect the wire and burn the program; after powered-on, open the serial monitor of Arduino IDE and see the value below.
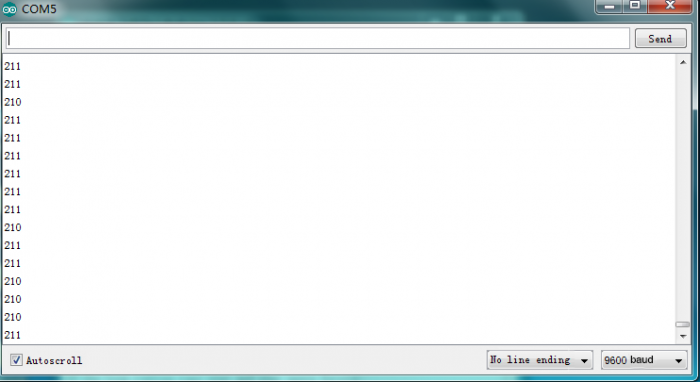
When irradiating the sensor with ultraviolet light, the value changes shown below.
Further Learn
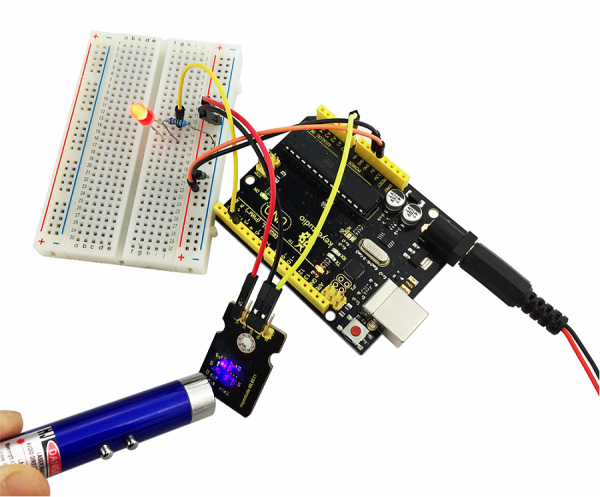
You can use this ultraviolet module to turn on an LED if you like. As shown below.
Resource
- PDF File:
https://drive.google.com/open?id=16beq7w6udJhZLor3GUBm60EfuBXuS8s_
- Code:
https://drive.google.com/open?id=1IGsXkg3cyV4e_BtbjQspYdD7B10BZtZa
- VIDEO:
http://video.keyestudio.com/ks0273/
