Ks0004 keyestudio Sensor Shield V5: Difference between revisions
Keyestudio (talk | contribs) |
Keyestudio (talk | contribs) |
||
| (18 intermediate revisions by the same user not shown) | |||
| Line 1: | Line 1: | ||
[[File:KS0004图片1.png|thumb|500px|right|Keyestudio Sensor Shield V5]] | |||
<br> | |||
==Introduction== | ==Introduction== | ||
In the experiments, you might often use UNO R3 control board and several sensor modules. If the interfaces of power output is not enough, you may need to add a breadboard and use many connection wires. Is it really troublesome?<br> | In the experiments, you might often use UNO R3 control board and several sensor modules. If the interfaces of power output is not enough, you may need to add a breadboard and use many connection wires. Is it really troublesome?<br> | ||
| Line 13: | Line 11: | ||
Additionally, you can supply the voltage needed to the sensor modules through blue terminal blocks on the shield. Because some sensor modules is not used with 5V or 3.3V but with special voltage. <br> | Additionally, you can supply the voltage needed to the sensor modules through blue terminal blocks on the shield. Because some sensor modules is not used with 5V or 3.3V but with special voltage. <br> | ||
<br> | |||
==Check out specifications== | ==Check out specifications== | ||
* Extends an Arduino Reset button | * Extends an Arduino Reset button | ||
| Line 25: | Line 23: | ||
* You can supply the voltage needed for sensor modules via terminal blocks. | * You can supply the voltage needed for sensor modules via terminal blocks. | ||
<br> | |||
==Controllers Compatible== | ==Controllers Compatible== | ||
* [http://www.keyestudio.com/ks0001.html keyestudio UNO R3 BOARD] /Arduino UNO R3 | * [http://www.keyestudio.com/ks0001.html keyestudio UNO R3 BOARD] /Arduino UNO R3 | ||
| Line 35: | Line 29: | ||
* [http://www.keyestudio.com/keyestudio-leonardo-r3-development-board.html keyestudio Leonardo R3 Development Board] | * [http://www.keyestudio.com/keyestudio-leonardo-r3-development-board.html keyestudio Leonardo R3 Development Board] | ||
* 51duino | * 51duino | ||
<br>[[Image: | <br>[[Image:KS0004图片2.png|700px|frameless]]<br> | ||
==Details== | |||
* Dimensions: 57mm x 57mm x 20mm | |||
* Weight: 20.5g | |||
<br>[[Image:KS0004图片3.png|600px|frameless]]<br> | |||
== | <br> | ||
<br>[[Image: | ==Pinout Instructions== | ||
<br>[[Image:Ks0004.jpg|800px|frameless]]<br> | |||
= | <Span style="color:red"> '''Note:''' </span><br> | ||
'''Note:'''<br> | |||
When SE is connected with jumper cap, and input DC 7V to VCC /GND terminal block, so the voltage of V, V1 and + pins are 7V. <br> | When SE is connected with jumper cap, and input DC 7V to VCC /GND terminal block, so the voltage of V, V1 and + pins are 7V. <br> | ||
When SE is connected with jumper cap, and VCC /GND terminal block without voltage input, shield is powered via UNO R3, so the voltage of V, V1 and + pins are 5V. <br> | When SE is connected with jumper cap, and VCC /GND terminal block without voltage input, shield is powered via UNO R3, so the voltage of V, V1 and + pins are 5V. <br> | ||
| Line 50: | Line 46: | ||
When SE is disconnected, and VCC /GND terminal block without voltage input, shield is powered via UNO R3, so the voltage of V pin is 0V, the voltage of V1 and + pins are 5V. | When SE is disconnected, and VCC /GND terminal block without voltage input, shield is powered via UNO R3, so the voltage of V pin is 0V, the voltage of V1 and + pins are 5V. | ||
<br> | |||
==Example Use== | ==Example Use== | ||
You can stack the shield onto UNO R3 board. Use a PIR motion sensor and LCD display to build the circuit experiments. | You can stack the shield onto UNO R3 board. Use a PIR motion sensor and LCD display to build the circuit experiments. | ||
<br>[[Image: | <br>[[Image:KS0004图片4.png|600px|frameless]]<br> | ||
<br> | |||
==Resources == | ==Resources == | ||
'''Video''' | * '''Video:''' <br> | ||
http://video.keyestudio.com/ks0004/ | |||
''' | * '''PDF:''' <br> | ||
https://fs.keyestudio.com/KS0004 | |||
<br> | |||
==Get One Now == | ==Get One Now == | ||
*[https://www.keyestudio.com/free-shipping-keyestudio-sensor-shield-expansion-board-v5-for-arduino-p0179.html '''Official Website'''] | |||
* [https://www.aliexpress.com/store/product/Free-shipping-Xbee-sensor-shield-V5-with-RS485-and-Bluetooth-interface-for-arduino/1452162_2042282729.html?spm=2114.12010612.8148356.7.4270276frML7hf Shop on Aliexpress ] | |||
* [https://www.ebay.com/itm/132587918715 Shop on eBay] | |||
[[Category: Shield]] | [[Category: Shield]] | ||
Latest revision as of 10:15, 29 April 2021
Introduction
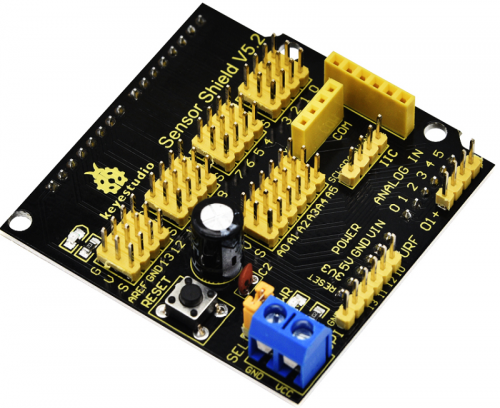
In the experiments, you might often use UNO R3 control board and several sensor modules. If the interfaces of power output is not enough, you may need to add a breadboard and use many connection wires. Is it really troublesome?
But now, with this keyestudio sensor shield, you can easily solve that problem. This shield is fully compatible with UNO R3 control board, so you can easily stack it onto UNO R3 for use.
This keyestudio sensor shield has extended the digital and analog ports out as 3PIN interface (G,V, S), which can directly connect 3PIN sensor modules.
It also breaks out some communication pins of 2.54mm pitch, like serial, IIC, and SPI communication.
The shield comes with a reset button and 2 signal indicators as well.
Additionally, you can supply the voltage needed to the sensor modules through blue terminal blocks on the shield. Because some sensor modules is not used with 5V or 3.3V but with special voltage.
Check out specifications
- Extends an Arduino Reset button
- Comes with a built-in power indicator and a D13 indicator
- Breakout all the digital and analog ports of UNO R3 as 3PIN headers
- A serial communication interface
- A I2C communication interface
- A SPI communication interface
- Comes with a URF interface
- Comes with an APC220 interface
- You can supply the voltage needed for sensor modules via terminal blocks.
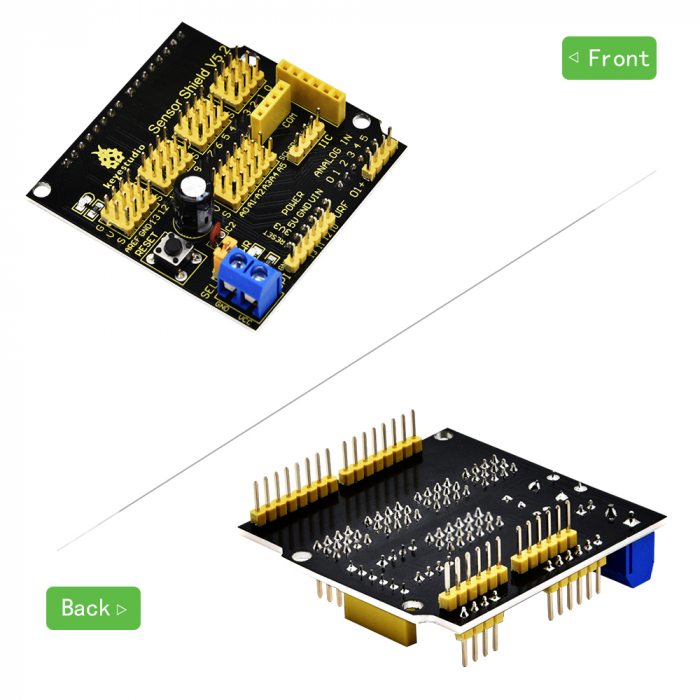
Controllers Compatible
- keyestudio UNO R3 BOARD /Arduino UNO R3
- keyestudio EASY plug Control Board
- keyestudio Leonardo R3 Development Board
- 51duino
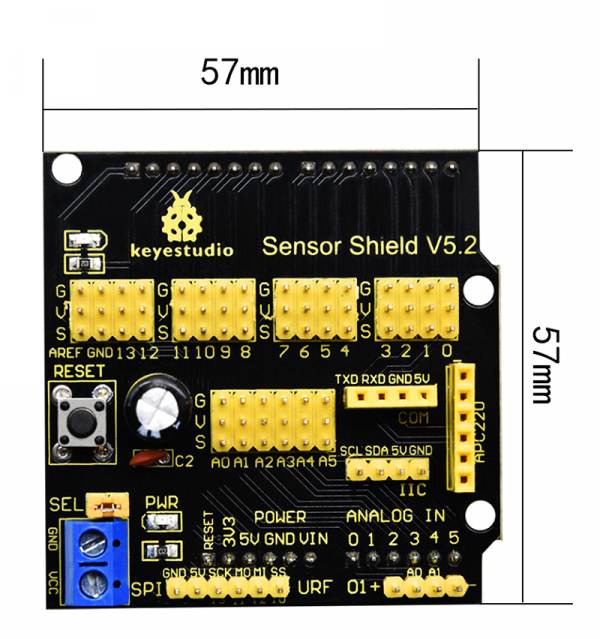
Details
- Dimensions: 57mm x 57mm x 20mm
- Weight: 20.5g
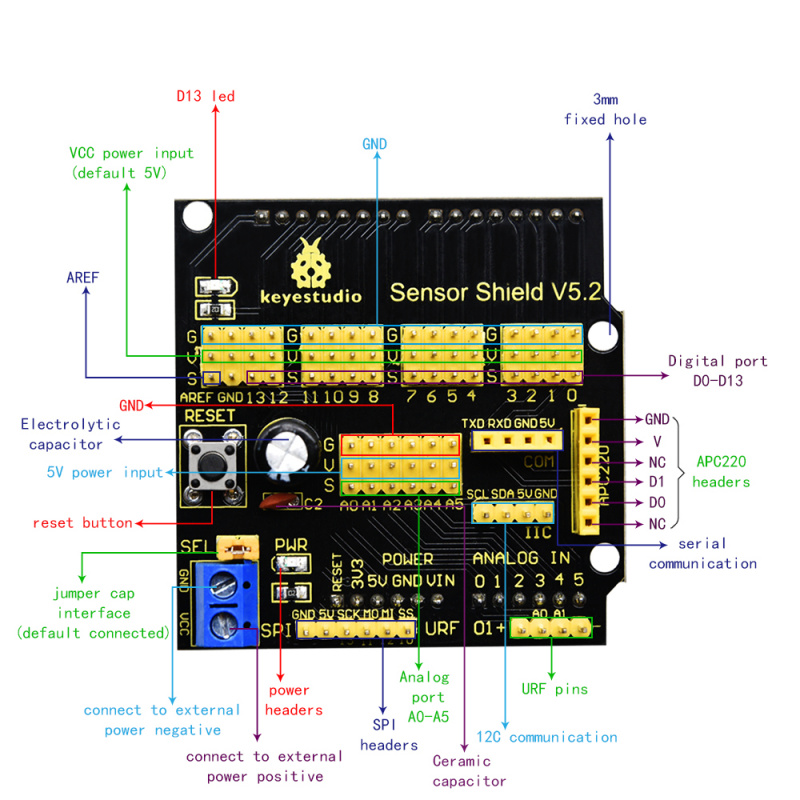
Pinout Instructions
Note:
When SE is connected with jumper cap, and input DC 7V to VCC /GND terminal block, so the voltage of V, V1 and + pins are 7V.
When SE is connected with jumper cap, and VCC /GND terminal block without voltage input, shield is powered via UNO R3, so the voltage of V, V1 and + pins are 5V.
When SE is disconnected, input DC 7V to VCC /GND terminal block, so the voltage of V pin is 7V, the voltage of V1 and + pins are 0V.
When SE is disconnected, and VCC /GND terminal block without voltage input, shield is powered via UNO R3, so the voltage of V pin is 0V, the voltage of V1 and + pins are 5V.
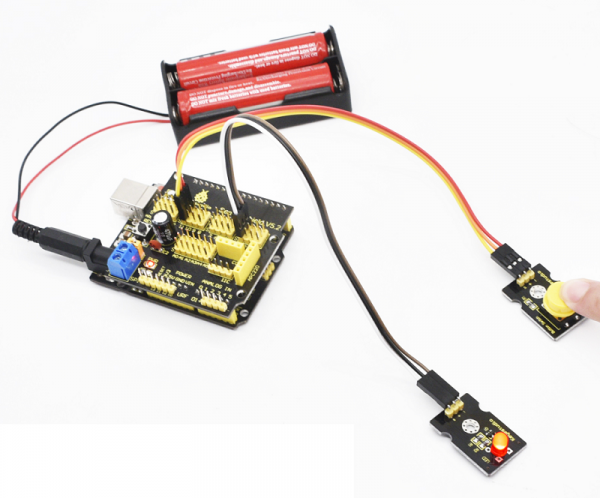
Example Use
You can stack the shield onto UNO R3 board. Use a PIR motion sensor and LCD display to build the circuit experiments.
Resources
- Video:
http://video.keyestudio.com/ks0004/
- PDF:
https://fs.keyestudio.com/KS0004
