KS0375 keyestudio SR01 Ultrasonic Module V2: Difference between revisions
Keyestudio (talk | contribs) |
Keyestudio (talk | contribs) |
||
| (One intermediate revision by the same user not shown) | |||
| Line 20: | Line 20: | ||
* Measuring Angle: 15 degree | * Measuring Angle: 15 degree | ||
* Trigger Input Signal: 10µS TTL pulse | * Trigger Input Signal: 10µS TTL pulse | ||
* Environmental attributes: ROHS | |||
<br>[[File:Ks0375-3.png|600px|frameless|thumb]]<br> | <br>[[File:Ks0375-3.png|600px|frameless|thumb]]<br> | ||
<br> | <br> | ||
== Connection Diagram == | == Connection Diagram == | ||
<br>[[File:Ks0375-4.png|600px|frameless|thumb]]<br> | <br>[[File:Ks0375-4.png|600px|frameless|thumb]]<br> | ||
| Line 89: | Line 92: | ||
<br> | <br> | ||
==Resources == | ==Resources == | ||
* '''Download | * '''Download Code :'''<br> | ||
https:// | |||
https://fs.keyestudio.com/KS0375 | |||
<br> | <br> | ||
==Buy from == | ==Buy from == | ||
Latest revision as of 14:03, 4 March 2021
Introduction
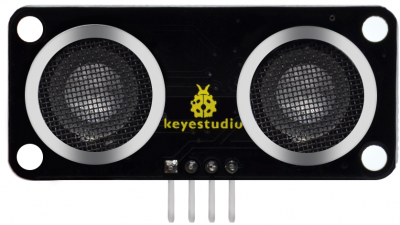
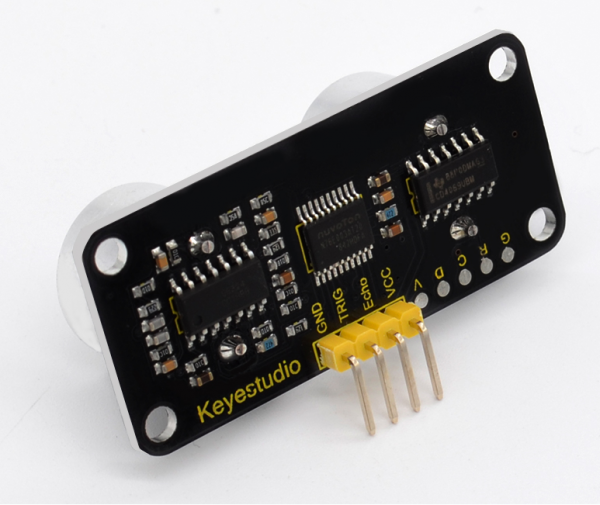
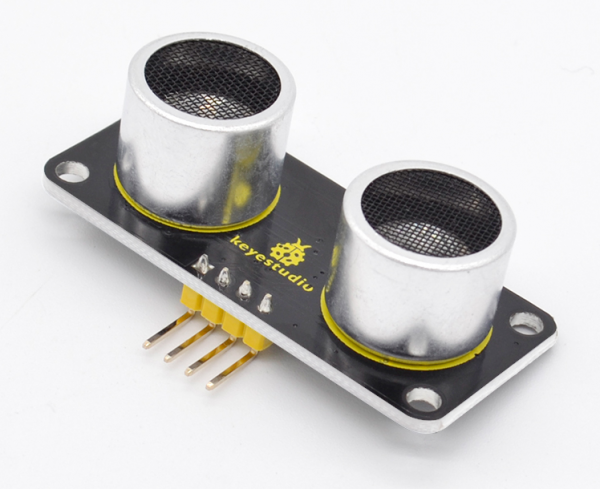
keyestudio SR01 Ultrasonic Module V2 is a very affordable proximity/distance sensor that has been used mainly for object avoidance in various robotics projects. It uses upgraded N76E003AT20 solution.
It essentially gives your Arduino eyes/spacial awareness and can prevent your robot from crashing or falling off a table.
It has also been used in turret applications, water level sensing, and even as a parking sensor.
This simple project will use the SR01 ultrasonic module V2 with an Arduino and a processing sketch to provide a neat little interactive display on your computer screen.
Specification
- Working Voltage: DC 5V
- Working Current: 15mA
- Working Frequency: 40KHz
- Max Range: 2--3m
- Min Range: 2cm
- Measuring Angle: 15 degree
- Trigger Input Signal: 10µS TTL pulse
- Environmental attributes: ROHS
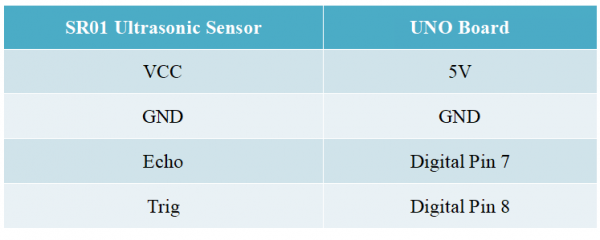
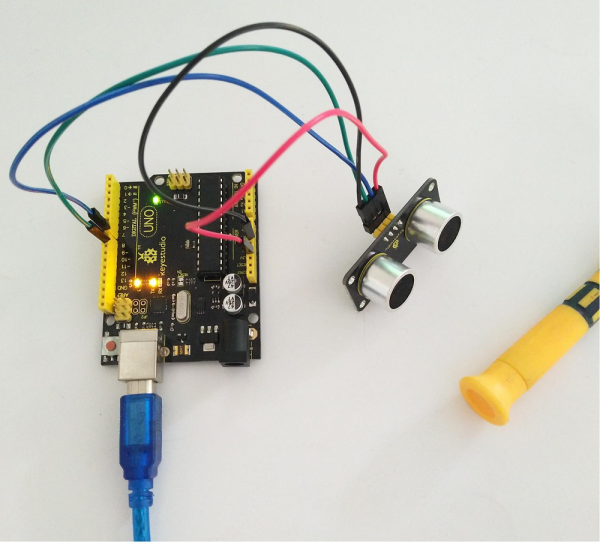
Connection Diagram
Sample Code
#define echoPin 7 // Echo Pin
#define trigPin 8 // Trigger Pin
#define LEDPin 13 // Onboard LED

int maximumRange = 200; // Maximum range needed
int minimumRange = 0; // Minimum range needed
long duration, distance; // Duration used to calculate distance

void setup() {
 Serial.begin (9600);
 pinMode(trigPin, OUTPUT);
 pinMode(echoPin, INPUT);
 pinMode(LEDPin, OUTPUT); // Use LED indicator (if required)
}

void loop() {
/* The following trigPin/echoPin cycle is used to determine the
 distance of the nearest object by bouncing soundwaves off of it. */
 digitalWrite(trigPin, LOW);
 delayMicroseconds(2);

 digitalWrite(trigPin, HIGH);
 delayMicroseconds(10);
 digitalWrite(trigPin, LOW);

 duration = pulseIn(echoPin, HIGH);

 //Calculate the distance (in cm) based on the speed of sound.
 distance = duration/58.2;

 if (distance >= maximumRange || distance <= minimumRange){
 /* Send a negative number to computer and Turn LED ON
 to indicate "out of range" */
 Serial.println("-1");
 digitalWrite(LEDPin, HIGH);
 }
 else {
 /* Send the distance to the computer using Serial protocol, and
 turn LED OFF to indicate successful reading. */
 Serial.println(distance);
 digitalWrite(LEDPin, LOW);
 }

 //Delay 50ms before next reading.
 delay(50);
}
What Should You See
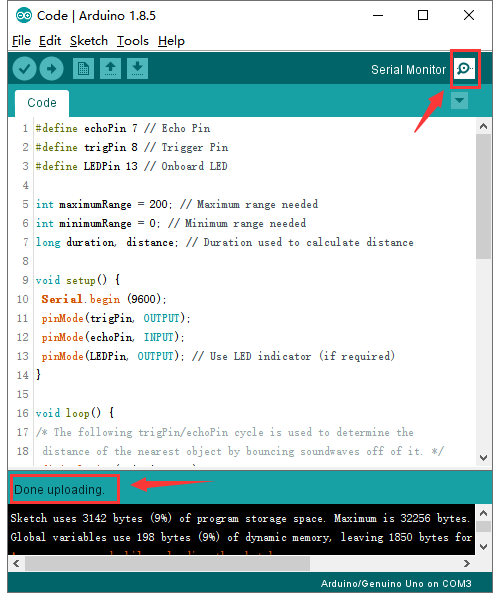
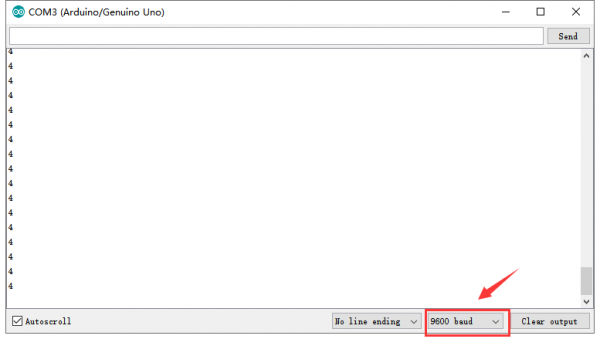
After upload the code to the board, open the serial monitor of Arduino IDE, and set the baud rate to 9600.
Move your hand or a large, flat object closer and farther away from the distance sensor. You can see the measured distance value pop up on the monitor.
Resources
- Download Code :
https://fs.keyestudio.com/KS0375
