KS0376 EASY plug SR01 Ultrasonic Module V2: Difference between revisions
Keyestudio (talk | contribs) No edit summary |
Keyestudio (talk | contribs) |
||
| Line 88: | Line 88: | ||
== What Should You See == | == What Should You See == | ||
<br>[[File:Ks0376-5.png|600px|frameless|thumb]]<br> | <br>[[File:Ks0376-5.png|600px|frameless|thumb]]<br> | ||
Done uploading the code, open the serial monitor and set the baud rate to 9600. <br> | Done uploading the code, open the serial monitor and set the baud rate to 9600. <br> | ||
Move your hand or a large, flat object closer and farther away from the distance sensor. You should see the measured distance value pop up on the monitor. | Move your hand or a large, flat object closer and farther away from the distance sensor. You should see the measured distance value pop up on the monitor. | ||
| Line 95: | Line 96: | ||
<br> | <br> | ||
==Resources == | ==Resources == | ||
*'''Download the PDF:'''<br> | *'''Download the PDF:'''<br> | ||
Revision as of 11:30, 28 April 2019
Introduction
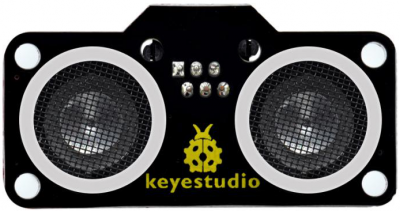
The distance sensor are really common in robotics projects, very useful for automation, interactive art and motion sensing.
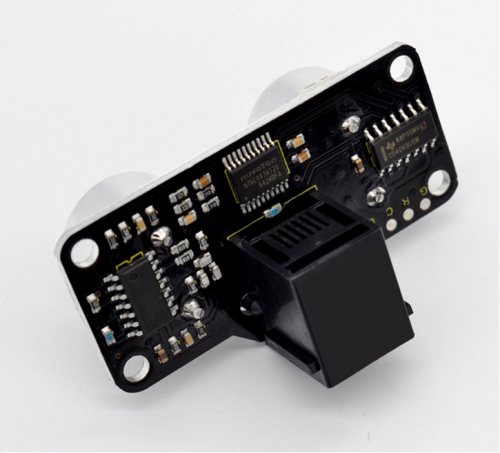
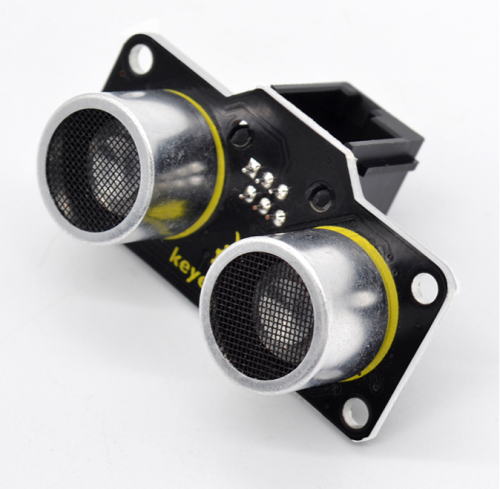
This EASY Plug SR01 Ultrasonic integrates ultrasonic transmitter, receiver and corresponding control circuit. It uses upgraded N76E003AT20 solution.
The module comes with four fixed holes, so that can easily fix it on other devices, such as the servo plastic platform and so on.
It should be connected to the double digital interface with only one line, which is very easy to use and convenient for connection.
Note that this module matches with EASY plug control board.
Specification
- Operating Voltage: DC 5V
- Operating Current: 15mA
- Operating Frequency: 40KHz
- Max Range: 2--3m
- Min Range: 2cm
- Measuring Angle: 15 degree
- Interface:double digital
Technical Details
- Dimensions: 49mm*25.4mm*28mm
- Weight: 10.4g
Connection Diagram
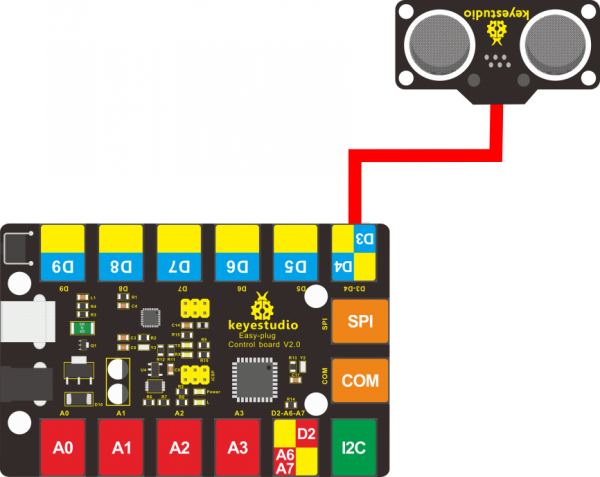
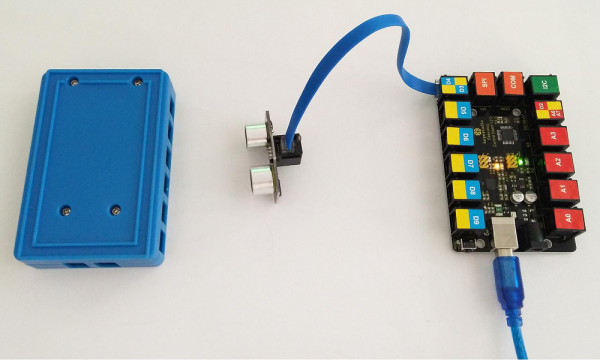
Connect the EASY Plug Ultrasonic module to control board using an RJ11 cable. Then connect the control board to your PC with a USB cable.
Sample Code
Copy and paste below code to Arduino IDE and upload.
#define echoPin 4 // Echo Pin
#define trigPin 3// Trigger Pin
#define LEDPin 13 // Onboard LED

int maximumRange = 200; // Maximum range needed
int minimumRange = 0; // Minimum range needed
long duration, distance; // Duration used to calculate distance

void setup() {
 Serial.begin (9600);
 pinMode(trigPin, OUTPUT);
 pinMode(echoPin, INPUT);
 pinMode(LEDPin, OUTPUT); // Use LED indicator (if required)
}

void loop() {
/* The following trigPin/echoPin cycle is used to determine the
 distance of the nearest object by bouncing soundwaves off of it. */
 digitalWrite(trigPin, LOW);
 delayMicroseconds(2);

 digitalWrite(trigPin, HIGH);
 delayMicroseconds(10);
 digitalWrite(trigPin, LOW);

 duration = pulseIn(echoPin, HIGH);

 //Calculate the distance (in cm) based on the speed of sound.
 distance = duration/58.2;

 if (distance >= maximumRange || distance <= minimumRange){
 /* Send a negative number to computer and Turn LED ON
 to indicate "out of range" */
 Serial.println("-1");
 digitalWrite(LEDPin, HIGH);
 }
 else {
 /* Send the distance to the computer using Serial protocol, and
 turn LED OFF to indicate successful reading. */
 Serial.println(distance);
 digitalWrite(LEDPin, LOW);
 }

 //Delay 50ms before next reading.
 delay(50);
}
What Should You See
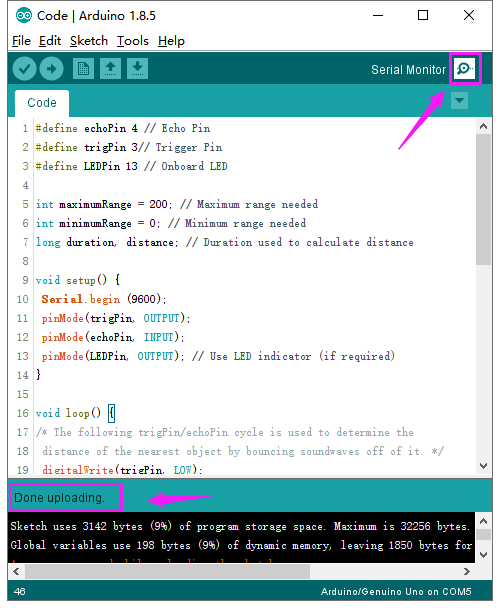
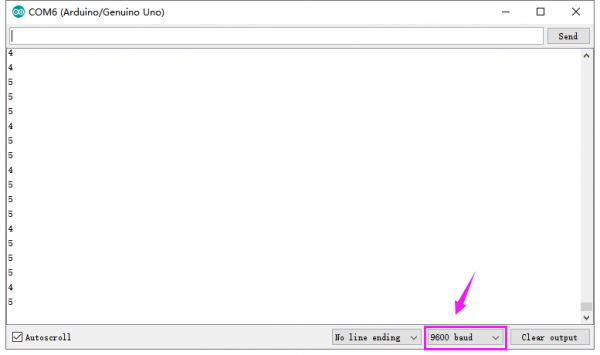
Done uploading the code, open the serial monitor and set the baud rate to 9600.
Move your hand or a large, flat object closer and farther away from the distance sensor. You should see the measured distance value pop up on the monitor.
Resources
- Download the PDF:
https://drive.google.com/open?id=1fdq8mgxDf85uGHpJzspyt_1HluWakzgO
- Download the Code:
https://drive.google.com/open?id=18fqIxBzn8WD6UjMKyJO5-d0Y9CjBVo1k
