Ks0245 keyestudio EASY plug Joystick Module: Difference between revisions
Jump to navigation
Jump to search
Keyestudio (talk | contribs) (Created page with "==EASY plug Joystick Module== <br>500px|frameless|thumb<br> ==Introduction== EASY plug Joystick Module needs to used with the EASY plug Control board V2...") |
Keyestudio (talk | contribs) |
||
| Line 45: | Line 45: | ||
'''Datasheet''' | '''Datasheet''' | ||
http://www.keyestudio.com/files/index/download/id/1500367714/ | http://www.keyestudio.com/files/index/download/id/1500367714/ | ||
Revision as of 16:27, 27 September 2017
EASY plug Joystick Module
Introduction
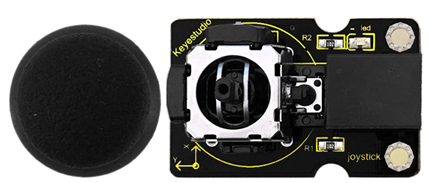
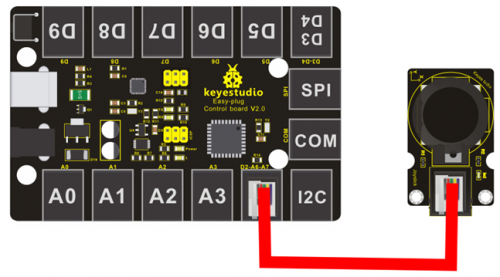
EASY plug Joystick Module needs to used with the EASY plug Control board V2.0 control board. The module is connected to the joystick module interface with one line, which is very easy and convenient. Lots of robot projects need joystick. This module provides an affordable solution. By simply connecting to two analog inputs, the robot is at your commands with X, Y control. It also has a switch that is connected to a digital pin.
Specification
- Supply Voltage:5V
- Interface: joystick module port
- Weight: 12.6g
Connection Diagram
Sample Code
int JoyStick_X = 6; //x
int JoyStick_Y = 7; //y
int JoyStick_Z = 2; //key
  void setup()
{
  pinMode(JoyStick_Z, INPUT);
  Serial.begin(9600); // 9600 bps
}
void loop()
{
  int x,y,z;
  x=analogRead(JoyStick_X);
  y=analogRead(JoyStick_Y);
  z=digitalRead(JoyStick_Z);
  Serial.print(x ,DEC);
  Serial.print(",");
  Serial.print(y ,DEC);
  Serial.print(",");
  Serial.println(z ,DEC);
  delay(100);
}
Result
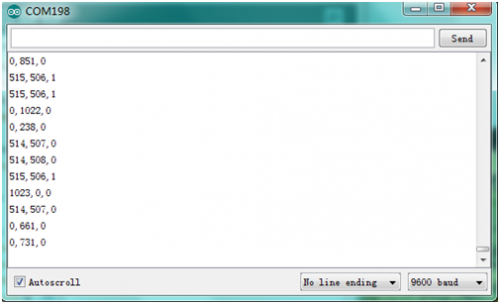
After connecting the power and burning thecode, please open the serial monitor, and set the baud rate of 9600, turn the joystick, press the rocker button, and you can see the different results, as the diagram shown below.

Resources
Datasheet
http://www.keyestudio.com/files/index/download/id/1500367714/

