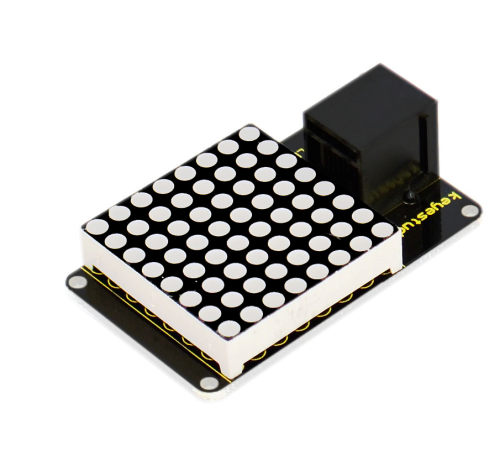
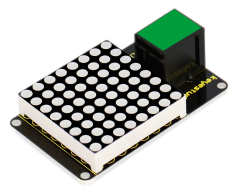
Ks0139 keyestudio EASY plug I2C 8x8 LED Matrix
EASY plug I2C 8x8 LED Matrix
Introduction
What's better than a single LED? Lots of LEDs! A fun way to make a small display is to use an 8x8 matrix. This matrix uses a driver chip that does all the heavy lifting for you: They have a built in clock so they multiplex the display. They use constant-current drivers for ultra-bright, consistent color, 1/16 step display dimming, all via a simple I2C interface.
Note: this module needs to be used together with EASY plug control board.
Specification
- Interface: Easy plug
- Supply voltage: 4.5V-5.5V
- Maximum display: 16*8
- Size: 53*32mm
- Weight: 6g
Connection Diagram
Sample Code
Libraries Download:[1]
#include <Wire.h>  // Place file “Wire.h” under the directory “library” of Arduino
#include "Adafruit_LEDBackpack.h" // Place file “Adafruit_LEDBackpack.h” under the directory “library” of Arduino
#include "Adafruit_GFX.h"  // Place file “Adafruit_GFX.h” under the directory “library” of Arduino
#define _BV(bit) (1<<(bit))
#endif
Adafruit_LEDBackpack matrix = Adafruit_LEDBackpack();
uint8_t counter = 0;
void setup() {
  Serial.begin(9600);
  Serial.println("HT16K33 test");
  matrix.begin(0x70);  // pass in the address
}
void loop() {
  // paint one LED per row. The HT16K33 internal memory looks like
  // a 8x16 bit matrix (8 rows, 16 columns)
  for (uint8_t i=0; i<8; i++) {
    // draw a diagonal row of pixels
    matrix.displaybuffer[i] = _BV((counter+i) % 16) | _BV((counter+i+8) % 16)  ;
  }
  // write the changes we just made to the display
  matrix.writeDisplay();
  delay(100);

  counter++;
  if (counter >= 16) counter = 0;
}
Resources
PDF:
https://drive.google.com/open?id=1eQ_E19XePe33VxLSHafZr_5N6ff0NGXW
Code Libraries Download:
https://drive.google.com/open?id=133xsJC5jvIkjZKpvcl5yu0Wp24m4_6kM
Get One Now
http://www.keyestudio.com/keyestudio-easy-plug-iic-i2c-8-8-le-d-dot-matrix-display-for-arduino.html

