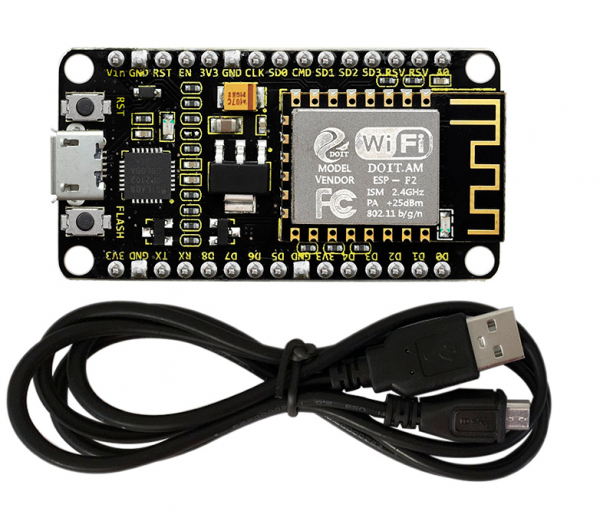
KS0389 keyestudio ESP8266 WiFi Module (Black and Eco-friendly)
Description
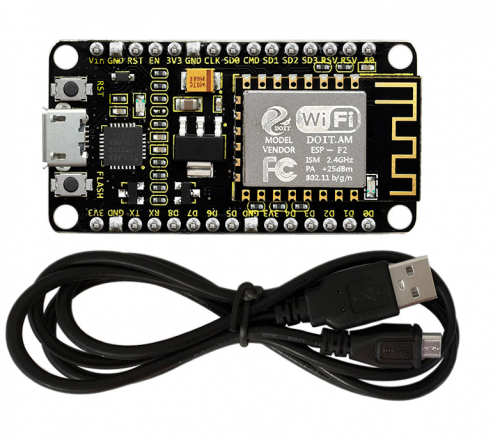
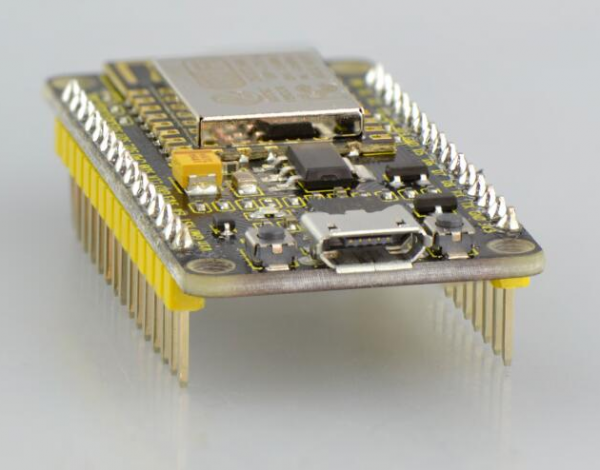
This keyestudio ESP8266 WI-FI development board is based on the ESP8266-12FWIFI module developed by Ai-Thinker.
The processor ESP8266 integrates the industry-leading Tensilica L106 ultra-low-power 32-bit micro MCU in a smaller package, with 16-bit Lite mode. The main frequency supports 80MHz and 160 MHz.
It supports RTOS, integrated with Wi-Fi MAC/BB/RF/PA/LNA. Onboard comes with curved antenna.
This development board is a standalone network controller, which can add networking function to those existing devices.
When using, power the board and upload the program via a Micro USB port, and the current supply should be 2A.
Technical Details
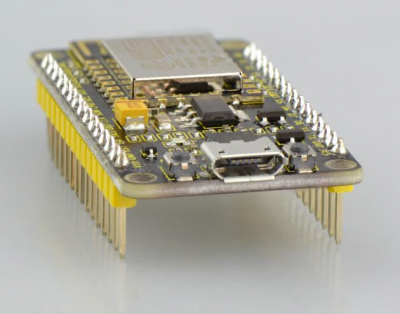
- Microcontroller: ESP8266-12F WIFI Module
- USB to Serial Chip: CP2102-GMR
- Operating Voltage: DC5V
- Input Current: 2A
- Main frequency supports 80 MHz and 160 MHz
- Analog Input Pins: 1(A0)
- Micro USB cable: 1m
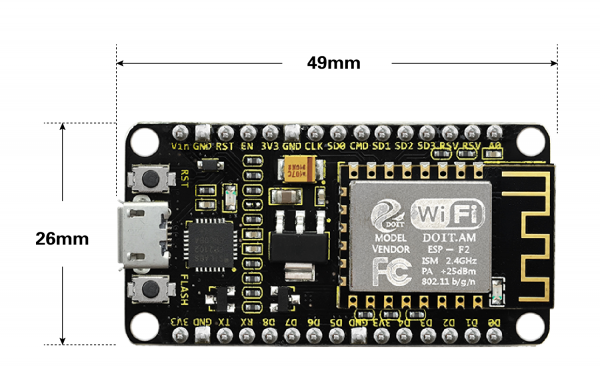
- Dimensions: 49mm*26mm*12mm
=Element and Interfaces
Here is an explanation of what every element and interface of the board has:
Specialized Functions of Some Pins
- Serial communication pins: RX and TX
- SPI communication pins: CLK(CLK); SD0(MIS0); CMD(MOSI); SD1(INT).
- SD Card communication pins: D3(SD3); D2(SD2); D1(SD1); CMD(CMD); D0(SD0); CLK(CLK).
- Analog output pin: A0
- GPIO pins: D0(GPIO16); D1(GPIO5); D2(GPIO4); D3(GPIO0); D4(GPIO2); D5(GPIO14); D6(GPIO12); D7(GPIO13); D8(GPIO15); RX(GPIO3); TX(GPIO1); SD3(GPIO10); SD2(GPIO9)
Detailed Using Method as follows
Step1| Install the Arduino IDE
When programming the control board, first you should install the Arduino software and driver.
You can download the different versions for different systems from the link below:
https://www.arduino.cc/en/Main/OldSoftwareReleases#1.5.x
Note: this control board is only compatible with Arduino 1.6.5 version or latest.
In the following, we will download the Arduino 1.6.5 version.
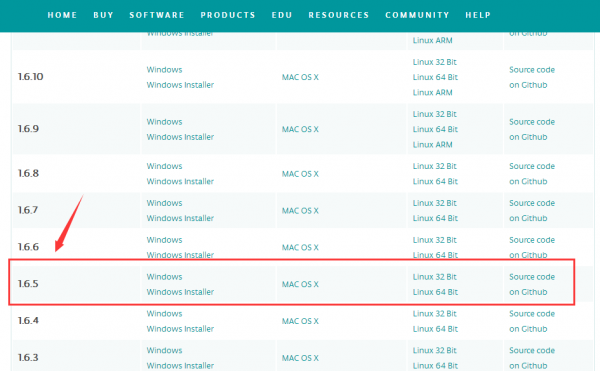
In this Windows system page, there are two options. One is Windows version, the other is Windows Installer.
For Windows Installer, you can download the installation file, this way you need to install the arduino IDE.
![]()
For simple Windows version, you can download the software directly, do not need to install, just directly use the software after unzip the file.
![]()
Next, we click the Windows, pop up the interface as below.

Click JUST DOWNLOAD.
When the ZIP file is downloaded well to your computer, you can directly unzip the file. Open the Arduino-1.6.5-r5 folder, you should get it as follows.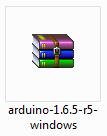
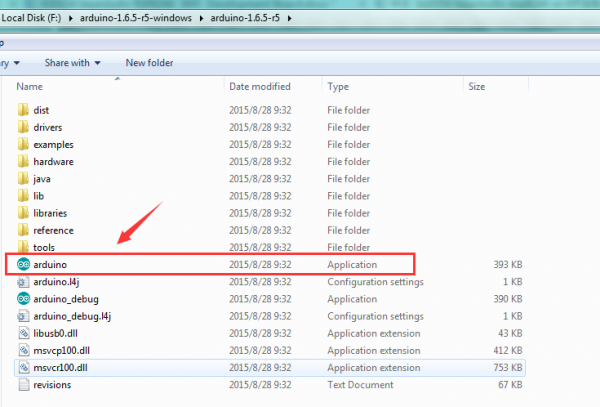
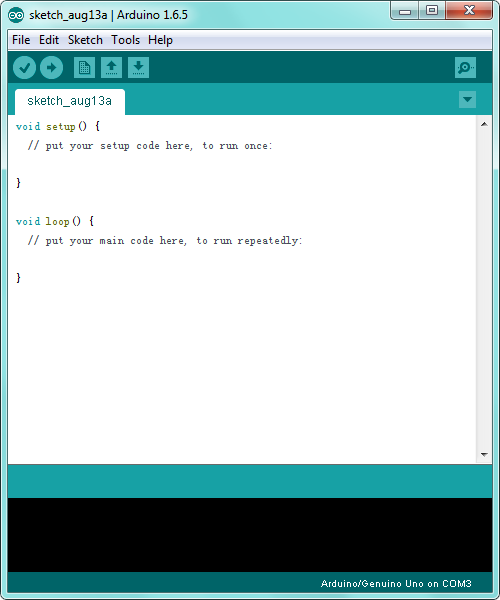
Click the icon of ARDUINO software to open it. This is your Arduino.
Step2| Install the Driver
The USB to serial port chip of this control board is CP2102-GMR. So you need to install the driver for the chip.
You can click the driver package download link here.
https://www.silabs.com/products/development-tools/software/usb-to-uart-bridge-vcp-drivers
You can download the driver software for different systems.
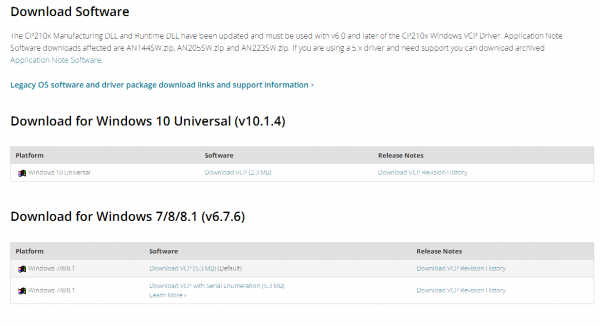
For example, download for Windows 7, you can get the driver package CP210x_Windows_Drivers.
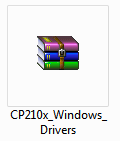
Unzip the package to install the driver.
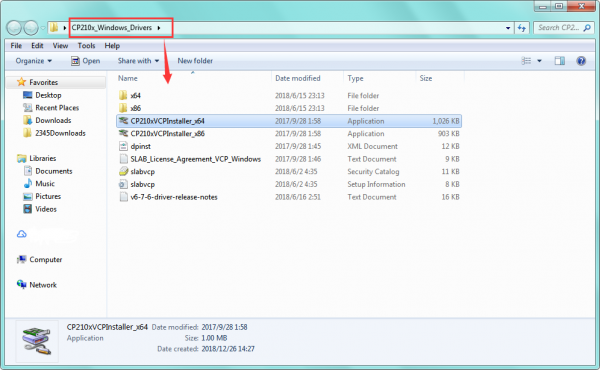
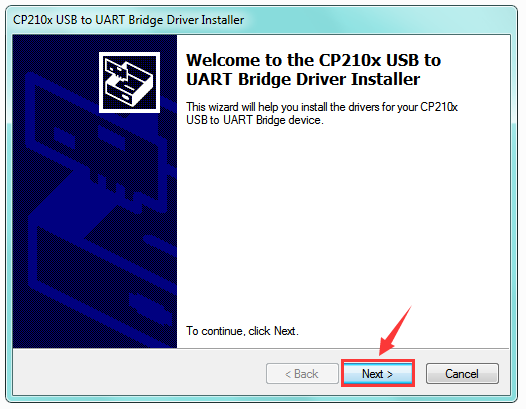
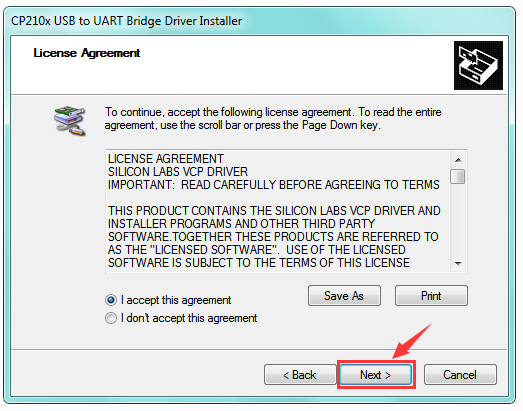
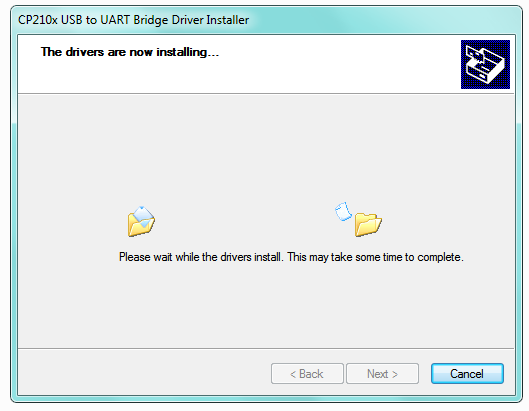
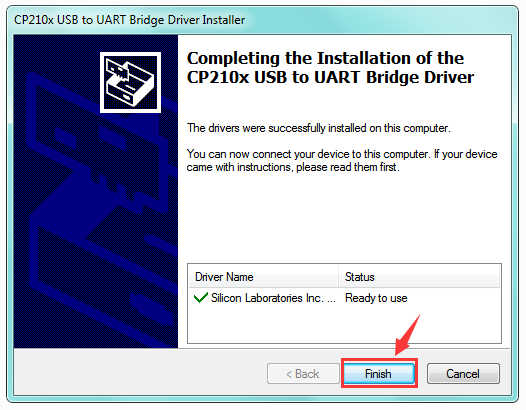
Then double click CP210xVCPInstaller_x64 to install the driver. Shown below.
Step3| Install the ESP8266 with Arduino
Double-click the icon of Arduino software downloaded well, you will get the interface shown below.

(Note: if the Arduino software loads in the wrong language, you can change it in the preferences dialog. See the environment page for details.)

The functions of each button on the Toolbar are listed below:
![]()
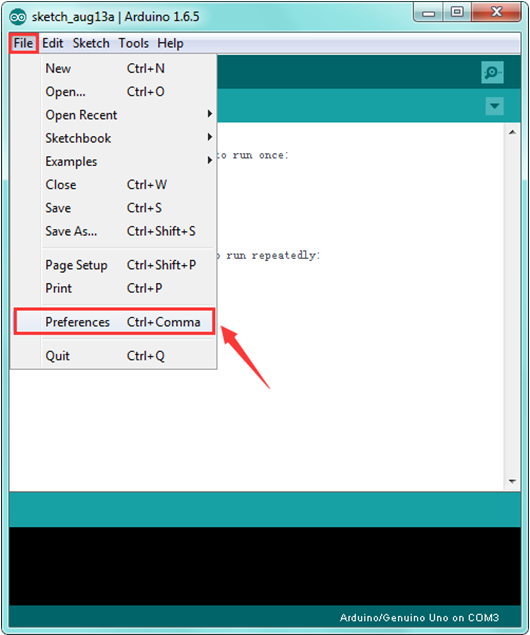
Firstly, plug one end of your USB cable into the Keyestudio ESP8266 WI-FI module and the other into a USB socket on your computer.
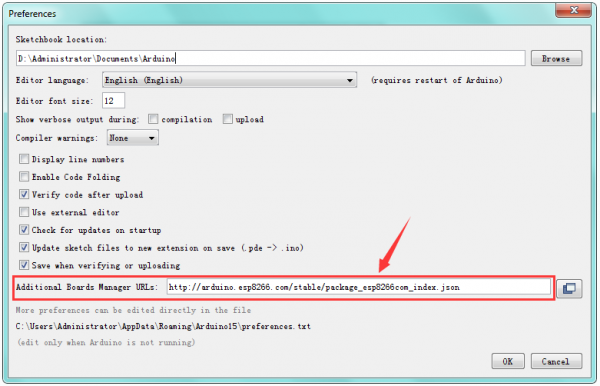
Then open the Arduino IDE, click the “File” to select the “Preferences”.
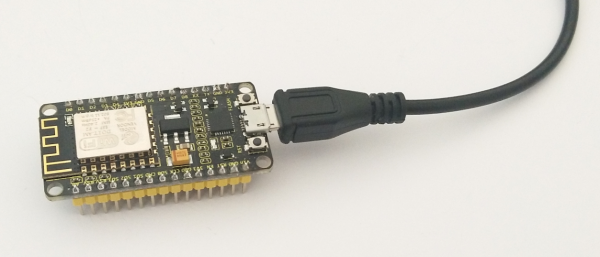
The pop-up interface is shown below.
See the “Additional Boards Manager URLs”, copy and paste the link below:
http://arduino.esp8266.com/stable/package_esp8266com_index.json
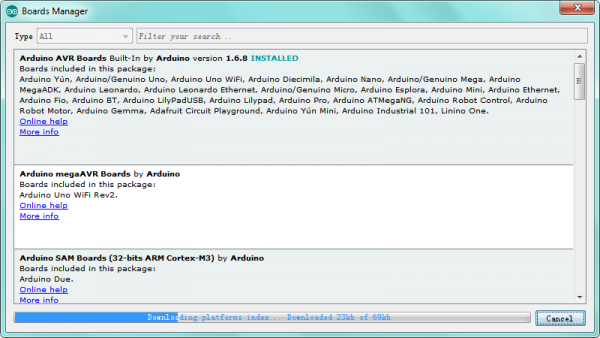
After that, click “Tools”, for “Board”, enter the Boards Manager, it will automatically download the relevant file. Shown below.
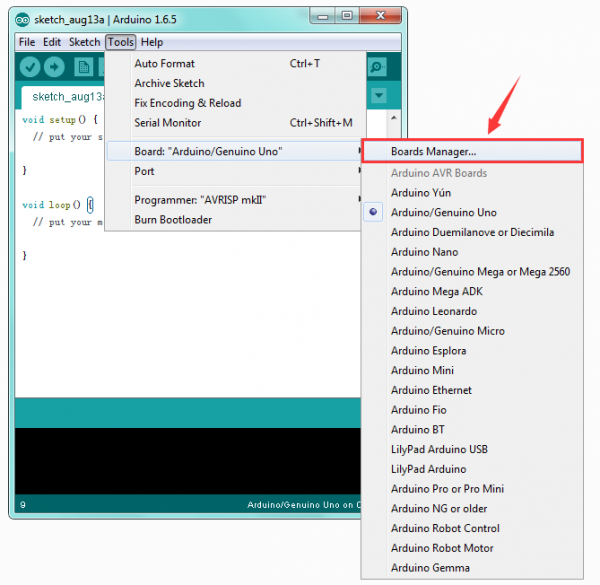
Done downloading the relevant file, it will pop up the window below.
Then enter the 8266 on the blank bar and click Install.
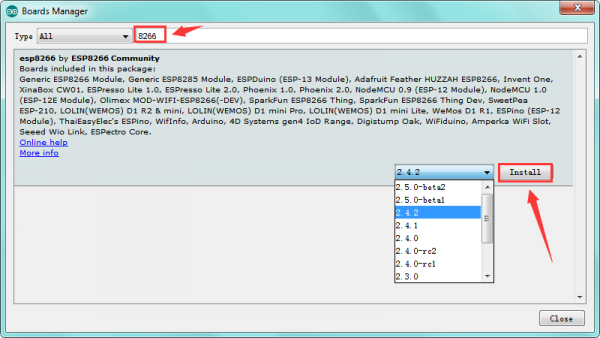
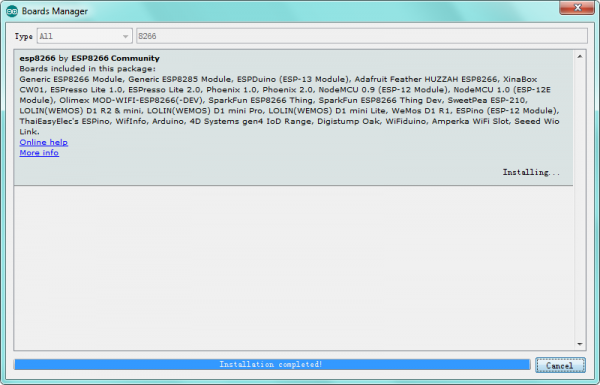
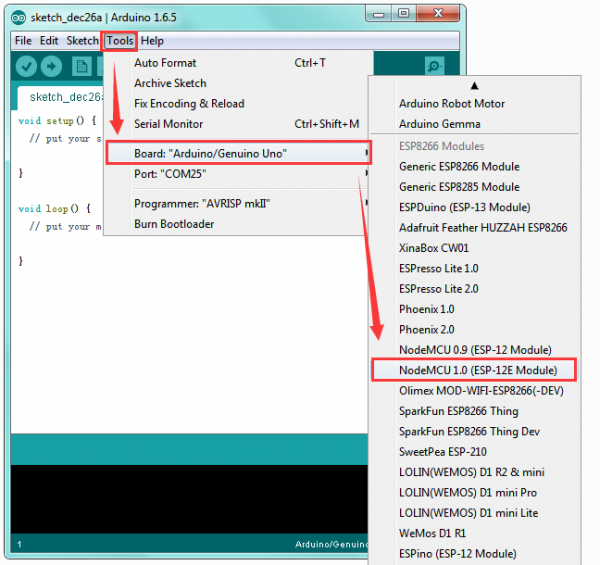
Installation completed, click Close, then click “Tools”, for “Board”, you should see the NodeMCU 1.0 (ESP-12E Module). Shown below.
Step4| Add the Libraries
Before upload the code to test your board, you should first add the library ESP8266WiFi into the libraries folder of Arduino-1.6.5-r5.
You can click the link to download the library needed.
https://drive.google.com/open?id=1_Y5lKCrDgY3AeovXZKorQ8FVk2olUOOL
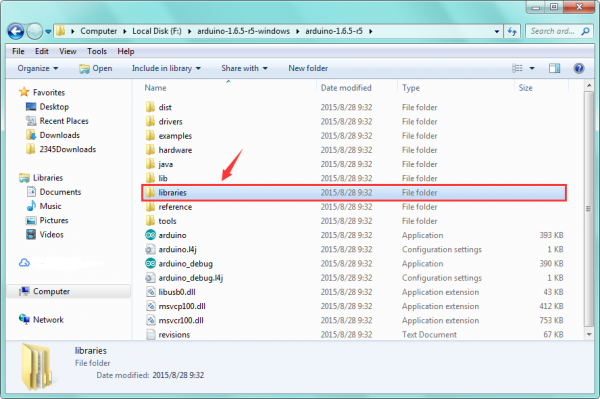
Note:
Before adding the library, you have opened the Arduino IDE. After add the library successfully, must restart the IDE, so the library can work.
Step5| Select the Board and Serial Port
Open the Arduino IDE, you’ll need to click the “Tools”, then select the Board and the Serial Port.

You can check out the Serial Port on your computer’s Device Manager.
Select your proper COM Port.
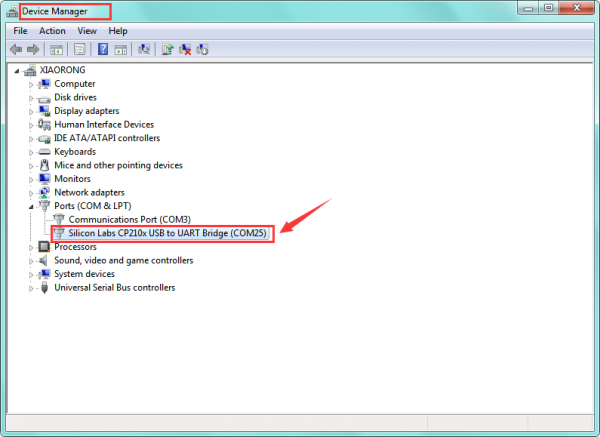

Step6| Upload the Code
Add well the libraries mentioned above, and select the proper Board and Port, you should upload the code to test the module.
Below is an example code, you can copy and paste it on Arduino IDE.
/*
 *  This sketch demonstrates how to scan WiFi networks.
 *  The API is almost the same as with the WiFi Shield library,
 *  the most obvious difference being the different file you need to include:
 */
#include "ESP8266WiFi.h"

void setup() {
  Serial.begin(115200);

  // Set WiFi to station mode and disconnect from an AP if it was previously connected
  WiFi.mode(WIFI_STA);
  WiFi.disconnect();
  delay(100);

  Serial.println("Setup done");
}

void loop() {
  Serial.println("scan start");

  // WiFi.scanNetworks will return the number of networks found
  int n = WiFi.scanNetworks();
  Serial.println("scan done");
  if (n == 0)
    Serial.println("no networks found");
  else
  {
    Serial.print(n);
    Serial.println(" networks found");
    for (int i = 0; i < n; ++i)
    {
      // Print SSID and RSSI for each network found
      Serial.print(i + 1);
      Serial.print(": ");
      Serial.print(WiFi.SSID(i));
      Serial.print(" (");
      Serial.print(WiFi.RSSI(i));
      Serial.print(")");
      Serial.println((WiFi.encryptionType(i) == ENC_TYPE_NONE)?" ":"*");
      delay(10);
    }
  }
  Serial.println("");

  // Wait a bit before scanning again
  delay(5000);
}
After copy and paste the code on IDE, click the compile button, if compiling successfully, the message "Done compiling." will appear in the status bar.
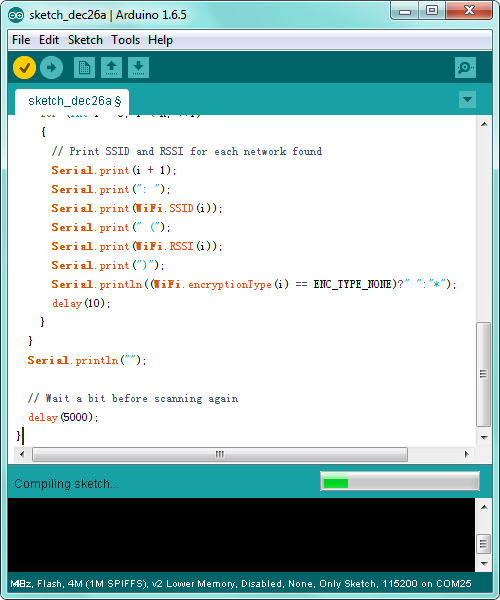
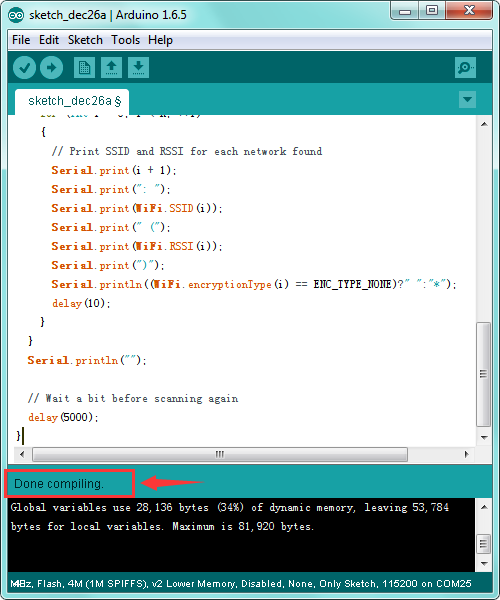
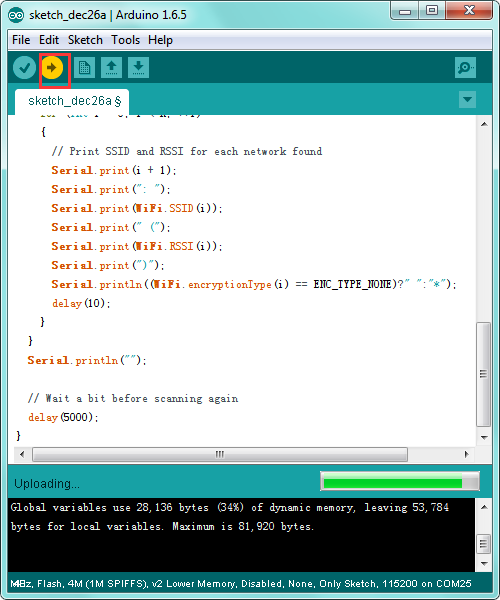
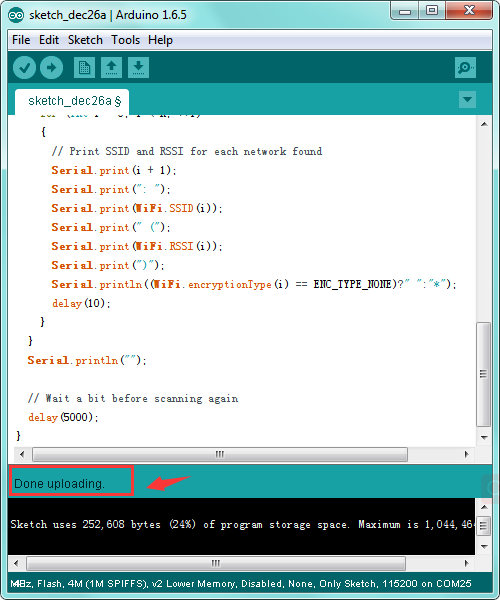
Then click the “Upload” button, if the upload is successful, the message "Done uploading." will appear in the status bar.
Step7| What Should You See
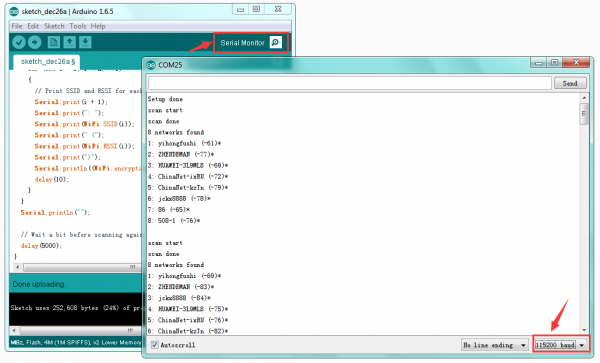
Done uploading the code, open the serial monitor and set the baud rate to 115200, you should see all the WIFI information.
Package Includes
- Keyestudio ESP8266 WI-FI module* 1
- USB cable * 1
