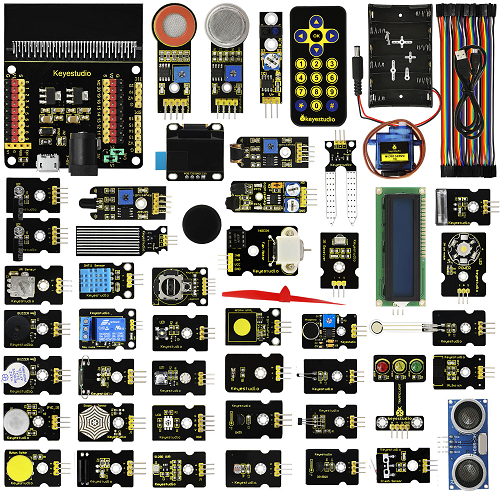
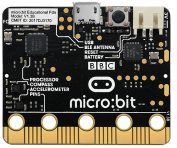
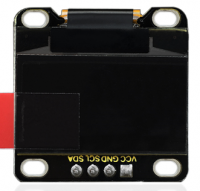
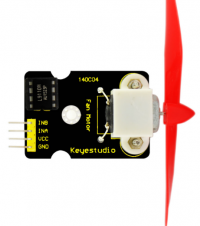
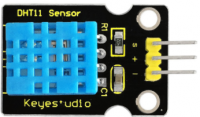
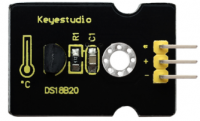
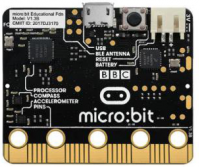
KS4009(4010) 45 in 1 Sensor Starter Kit For BBC Micro:bit
Introduction
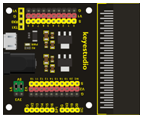
micro: bit is a powerful hand-held, fully programmable, computer designed by the BBC. It is only half size of a credit card, available for children’s programming education. Onboard comes with Bluetooth, accelerometer, compass, three buttons, 5x5 LED matrix, USB interface, connection pins. In order to learn micro bit more easier, we particularly make this kit, in which includes a keyestudio sensor shield fully compatible with micro bit and other commonly used sensor modules. In addition, this sensor kit also provides various learning projects for you, including wiring diagram, source code and more. It can help you make learning easy and fun to enjoy the programming.
Kit List
Note: The micro:bit main board is Not Included in KS4009 starter kit, but Included in KS4010 starter kit.
micro:bit Example Use
Step 1: Connect It
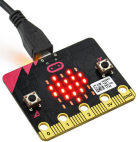
Connect the micro:bit to your computer via a micro USB cable. Your micro:bit will show up on your computer as a drive called 'MICROBIT'.
Step 2: Program It
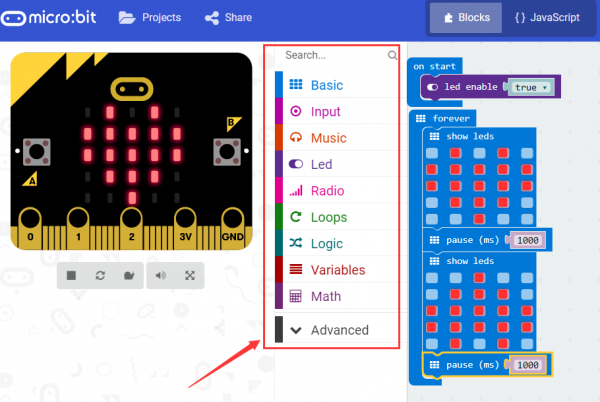
Using micro bit MakeCode Block editor https://makecode.microbit.org/, write your first micro:bit code.
You can drag and drop some example blocks and try your program on the Simulator in the Javascript Blocks Editor, like in the image below.
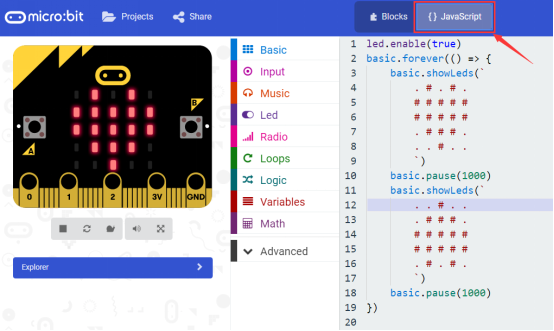
Click the JavaScript, you can see the corresponding program code. Shown as below figure.
Step 3: Download It
Click the Download button in the editor. This will download a 'hex' file, which is a compact format of your program that your micro:bit can read.
Here you can name the project as LED1, then click “Save”. Shown below.

Once the hex file has downloaded, copy it to your micro:bit just like copying a file to a USB drive. On Windows find the microbit-LED1 file, you can right click and choose "Send To→MICROBIT."


Step 4: Play It
The micro:bit will pause and the yellow 5*5 LED on the back of the micro:bit will display the images while your code is programmed.

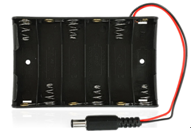
You can power it using USB cable or battery. The battery holder need to connect two 1.5V AA batteries. Shown below.
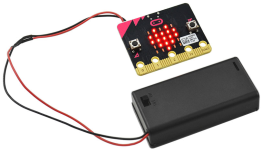
Note: this battery case is Not Included in the kit.
micro:bit Pins
Before getting started with the following projects, first need to figure out each pin of micro:bit main board. Please refer to the reference diagram shown below.
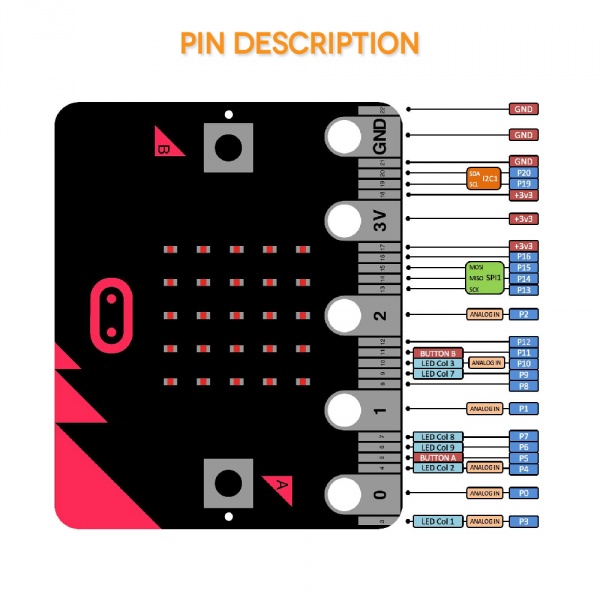
The BBC micro:bit has 25 external connections on the edge connector of the board, which we refer to as ‘pins’. The edge connector is the grey area on the right side of the figure above. There are five large pins, that are also connected to holes in the board labelled: 0, 1, 2, 3V, and GND. And along the same edge, there are 20 small pins that you can use when plugging the BBC micro:bit into an edge connector.
Note that it read from the BBC micro:bit official website. More reference you can click the link below:
BBC micro bit Pins: http://microbit.org/guide/hardware/pins/
BBC micro:bit website: http://microbit.org/
Micro bit MakeCode Block Editor: https://makecode.microbit.org/
Meet micro:bit starter programming: http://microbit.org/guide/
BBC micro:bit Features Guide: http://microbit.org/guide/features/
BBC micro:bit Safety Warnings: http://microbit.org/guide/features/
BBC micro:bit Quick Start Guide: http://microbit.org/guide/quick/
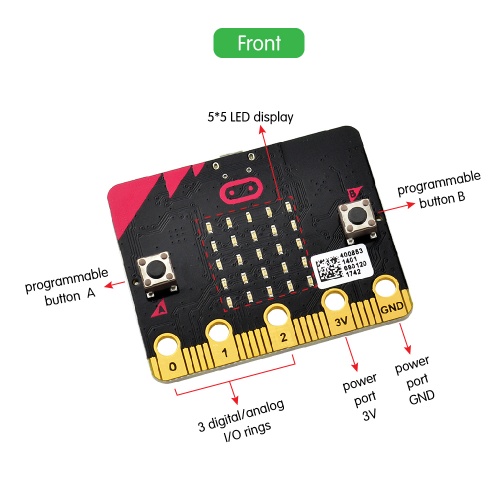
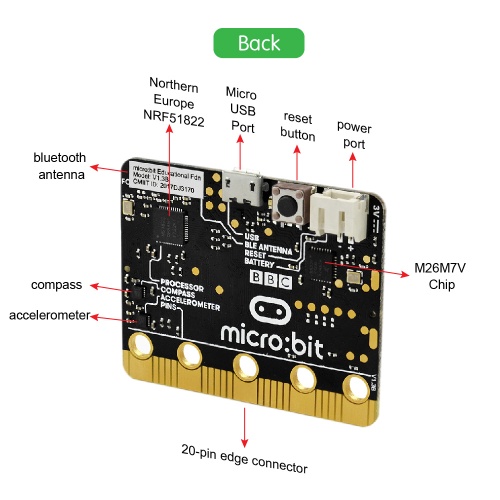
After mastering the basic information of BBC micro:bit, in the following part let’s move on to programming projects. Use this small board with keyestudio micro bit sensor shield and other sensor modules to make some interactive experiments. Play it and learn it. Enjoy your wonderful time!
Installing Arduino Software
We will use the Arduino software in the following projects.
First you should install the Arduino software and driver.
We usually use the Windows software Arduino 1.5.6 version. You can download it from the link below:
https://www.arduino.cc/en/Main/OldSoftwareReleases#1.5.x
Or you can browse the ARDUINO website to download the latest version from this link, https://www.arduino.cc, pop up the following interface.
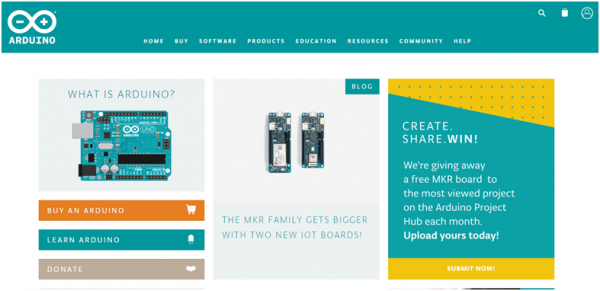
Then click the SOFTWARE on the browse bar, you will have two options ONLINE TOOLS and DOWNLOADS.
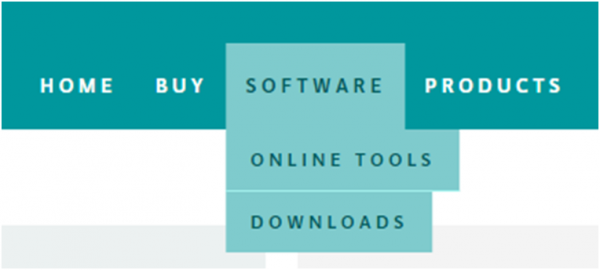
Click DOWNLOADS, it will appear the latest software version of ARDUINO 1.8.5 shown as below.
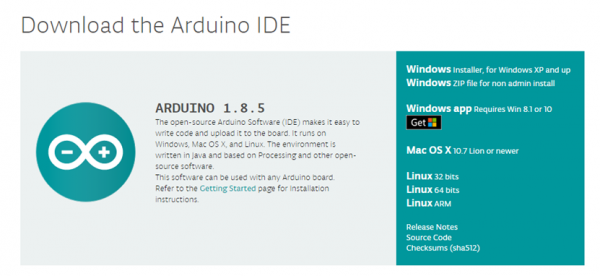
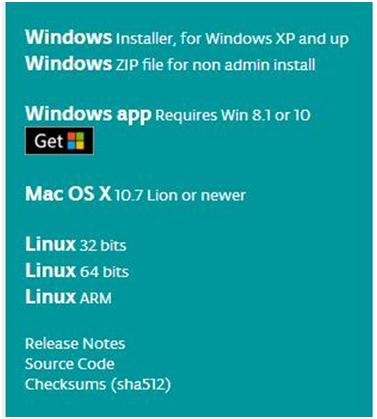
In this software page, on the right side you can see the version of development software for different operating systems. You should download the software that is compatible with the operating system of your computer.
We will take WINDOWS system as an example here. There are also two options under Windows system, one is installed version, the other is non-installed version.
For simple installed version, first click Windows Installer, you will get the following page.

This way you just need to click JUST DOWNLOAD, then click the downloaded file to install it.
For non-installed version, first click Windows ZIP file, you will also get the pop-up interface as the above figure.
Click JUST DOWNLOAD, and when the ZIP file is downloaded well to your computer, you can directly unzip the file and click the icon of ARDUINO software to start it.
Installing Arduino (Windows)
Install Arduino with the exe. Installation package downloaded well.
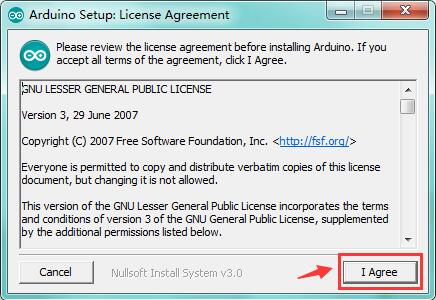
Click“I Agree”to see the following interface.
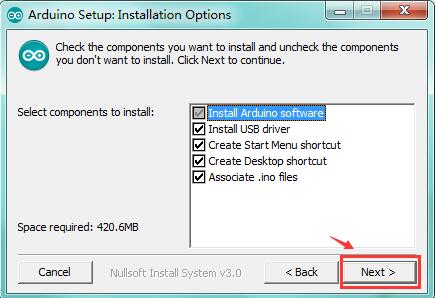
Click “Next”. Pop up the interface below.
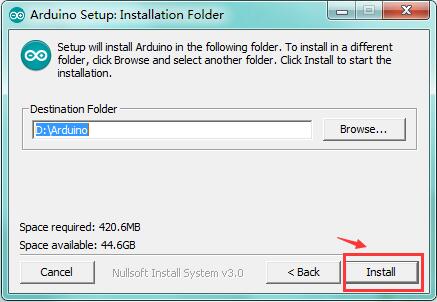
You can press Browse… to choose an installation path or directly type in the directory you want.
Then click “Install” to initiate installation.
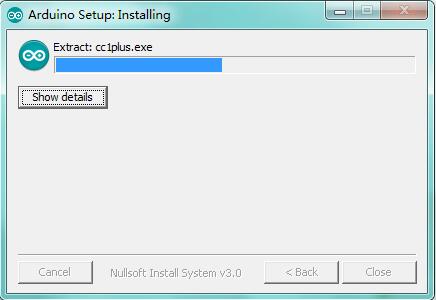
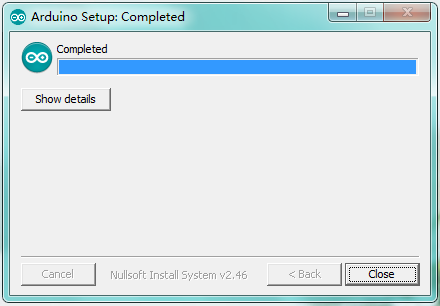
Wait for the installing process, if appear the interface of Window Security, just continue to click Install to finish the installation.
Installing Driver
The driver installation may have slight differences in different computer systems. So in the following let’s move on to the driver installation in the WIN 7 system.
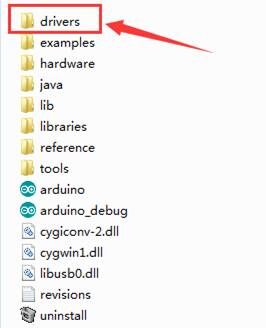
The Arduino folder contains both the Arduino program itself and the drivers that allow the Arduino to be connected to your computer by a USB cable. Before we launch the Arduino software, you are going to install the USB drivers.
Plug one end of your USB cable into the Arduino and the other into a USB socket on your computer.
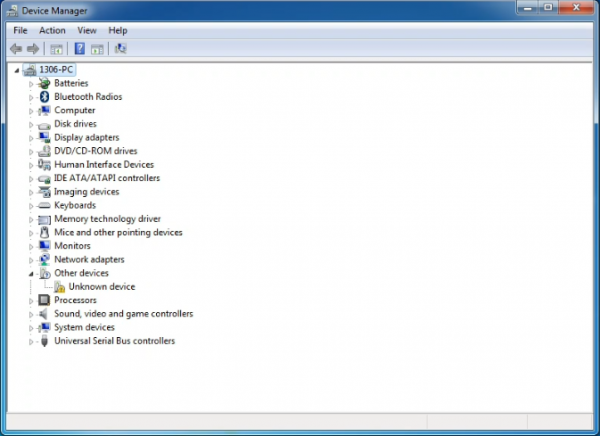
When you connect UNO board to your computer at the first time, right click the icon of your “Computer” —>for “Properties”—> click the “Device manager”, under “Other Devices”, you should see an icon for “Unknown device” with a little yellow warning triangle next to it. This is your Arduino.
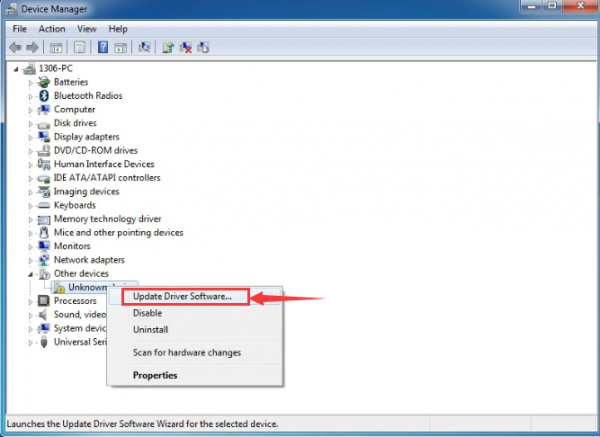
Then right-click on the device and select the top menu option (Update Driver Software...) shown as the figure below..
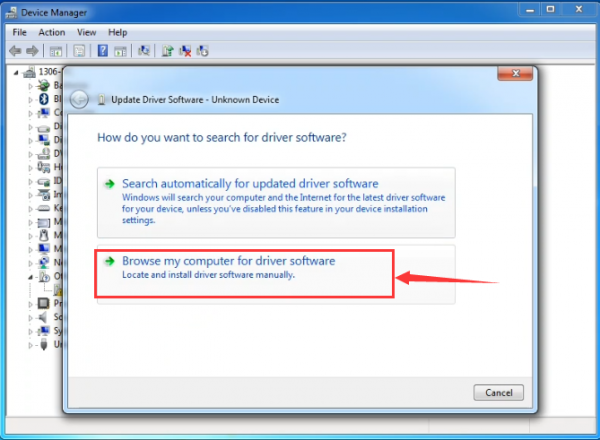
It will then be prompted to either “Search Automatically for updated driversoftware” or “Browse my computer for driver software”. Shown as below. In this page, select “Browse my computer for driver software”.
After that, select the option to browseand navigate to the “drivers” folder of Arduino installation.
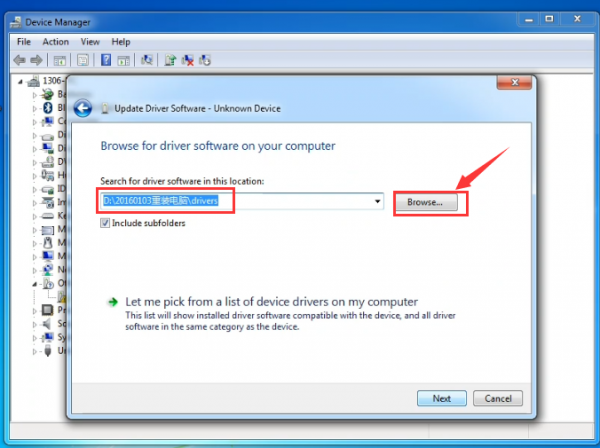
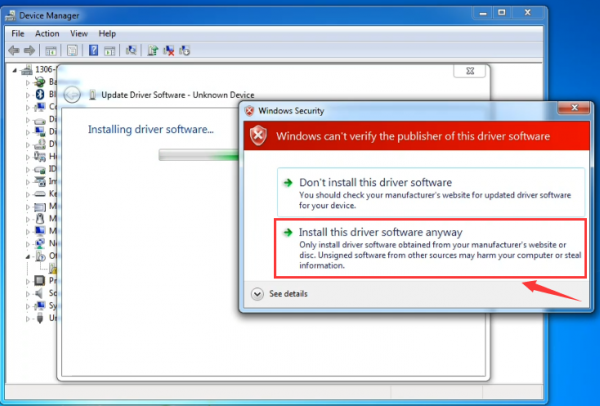
Click “Next” and you may get a security warning, if so, allow the software to be installed. Shown as below.
Once the software has been installed, you will get a confirmation message. Installation completed, click “Close”.
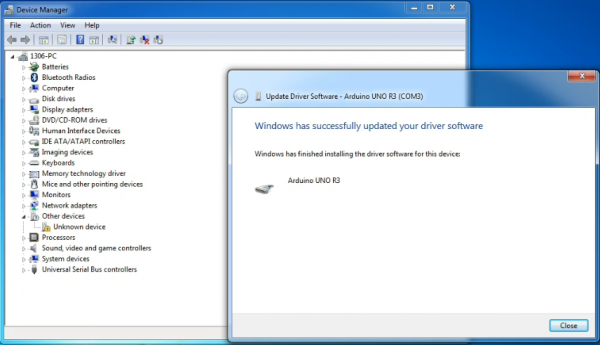
Up to now, the driver is installed well. Then you can right click “Computer” —>“Properties”—>“Device manager”, you should see the device as the figure shown below.
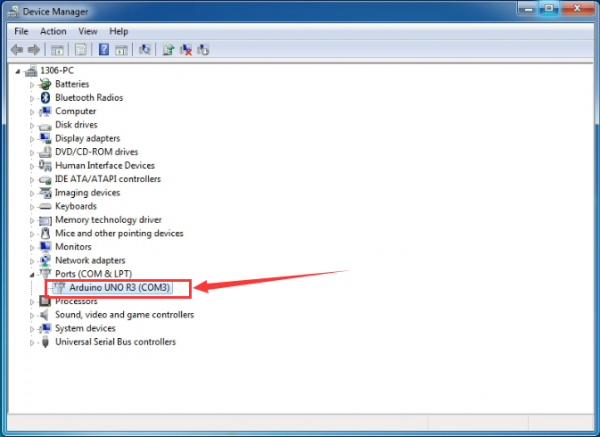
Now,we have installed well the Arduino software. In the following projects, you might use the software's monitor window to display the data.
Example Projects
Resources Link
1) Keyestudio Official Website: http://www.keyestudio.com/
2) Keyestudio WIKI Website: http://wiki.keyestudio.com/
3) User Guide Download:
https://fs.keyestudio.com/KS4009-4010/
4) Arduino Software Link:
https://drive.google.com/open?id=1ivTOKCKgkmEuBtZpLI75XKryGI-xx-xF
5) Arduino Official Website: https://www.arduino.cc
6) BBC micro bit Pins: http://microbit.org/guide/hardware/pins/
7) BBC micro:bit website: http://microbit.org/
8) Micro:bit MakeCode Block Editor: https://makecode.microbit.org/
9) Code Block Reference: https://makecode.microbit.org/reference
10) Meet micro:bit starter programming: http://microbit.org/guide/
11) BBC micro:bit Features Guide: http://microbit.org/guide/features/
12) BBC micro:bit Safety Warnings: http://microbit.org/guide/features/
13) BBC micro:bit Quick Start Guide: http://microbit.org/guide/quick/
