Ks0037 keyestudio Vibration Sensor: Difference between revisions
Jump to navigation
Jump to search
Keyestudio (talk | contribs) |
Keyestudio (talk | contribs) No edit summary |
||
| Line 8: | Line 8: | ||
<br> | <br> | ||
==Specification== | ==Specification== | ||
*IO Type: Digital | *IO Type: Digital | ||
| Line 18: | Line 17: | ||
<br> | <br> | ||
==Sample Code == | ==Sample Code == | ||
<pre> | <pre> | ||
#define SensorLED 13 | #define SensorLED 13 | ||
| Line 45: | Line 42: | ||
} | } | ||
</pre> | </pre> | ||
<br> | <br> | ||
| Line 54: | Line 52: | ||
* '''PDF and Code'''<br> | * '''PDF and Code'''<br> | ||
https://drive.google.com/open?id=11oASJW8DsIt1ZI-3DHq_6w242-4k_qV3 | https://drive.google.com/open?id=11oASJW8DsIt1ZI-3DHq_6w242-4k_qV3 | ||
<br> | <br> | ||
==Buy from == | ==Buy from == | ||
Revision as of 10:13, 27 May 2019
Introduction
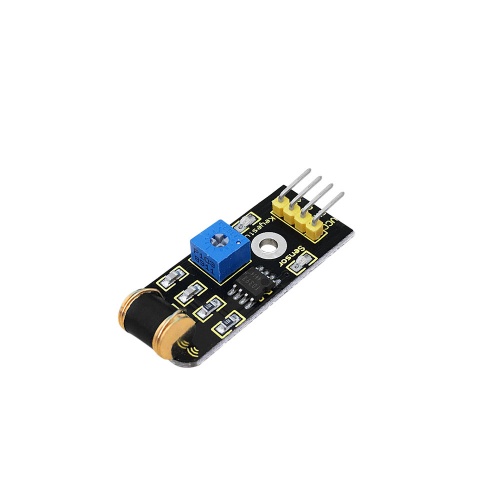
What's the simplest way to check vibration with Arduino? Well, use a vibration sensor from keyestudio.
You can directly plug it on our sensor Shield V5, vibrate this sensor, and Arduino can receive a digital signal, making it easy to make computation and programs in Arduino.
Despite its simplicity, you can make full use of it with creative thinking, step counting and crash warning light, etc.

Specification
- IO Type: Digital
- Supply Voltage: 3.3V to 5V
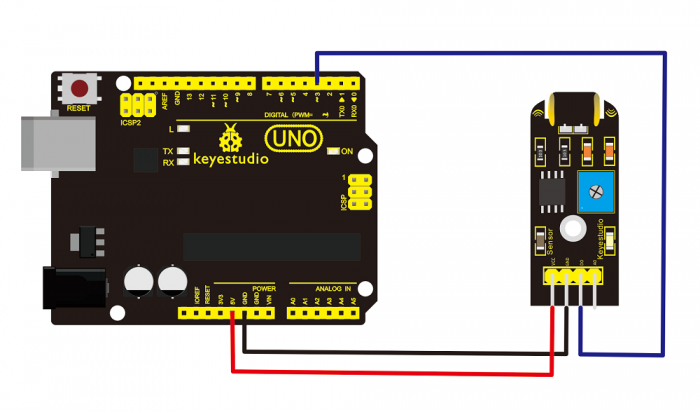
Connection Diagram
Sample Code
#define SensorLED     13
#define SensorINPUT   3  //Connect the sensor to digital Pin 3 which is Interrupts 1.
 unsigned char state = 0;
 void setup()
{
  pinMode(SensorLED, OUTPUT);
  pinMode(SensorINPUT, INPUT);
  attachInterrupt(1, blink, FALLING);// Trigger the blink function when the falling edge is detected
  }
void loop()
{  if(state!=0)
      {
        state = 0;
        digitalWrite(SensorLED,HIGH);
        delay(500);
      }
      else
        digitalWrite(SensorLED,LOW);
}
void blink()//Interrupts function
{  state++;
}
Resources
- Video
http://video.keyestudio.com/ks0037/
- PDF and Code
https://drive.google.com/open?id=11oASJW8DsIt1ZI-3DHq_6w242-4k_qV3
