Ks0245 keyestudio EASY plug Joystick Module: Difference between revisions
Keyestudio (talk | contribs) No edit summary |
Keyestudio (talk | contribs) No edit summary |
||
| Line 15: | Line 15: | ||
* Dimensions: 45mm*28mm*33mm | * Dimensions: 45mm*28mm*33mm | ||
* Weight: 12.5g | * Weight: 12.5g | ||
[[image:0245图片1.png|thumb|600px|right]] | |||
<br> | <br> | ||
Revision as of 15:03, 8 May 2019
Introduction
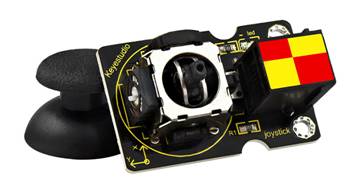
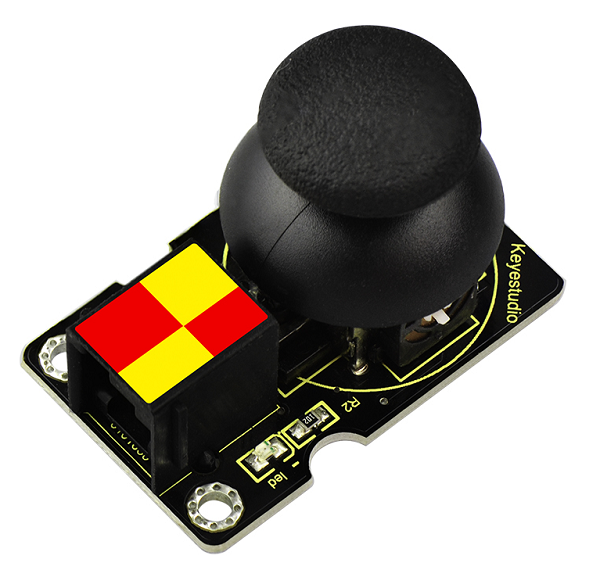
Lots of robot projects need joystick. This module provides an affordable solution.
By simply connecting to two analog inputs, the robot is at your commands with X, Y control. It also has a switch that is connected to a digital pin.
This joystick module can be easily connect to EASY PLUG control board with only one cable.
Specifications
- Supply Voltage: 3.3V to 5V
- Interface: Digital
Technical Details
- Dimensions: 45mm*28mm*33mm
- Weight: 12.5g
Connect It Up
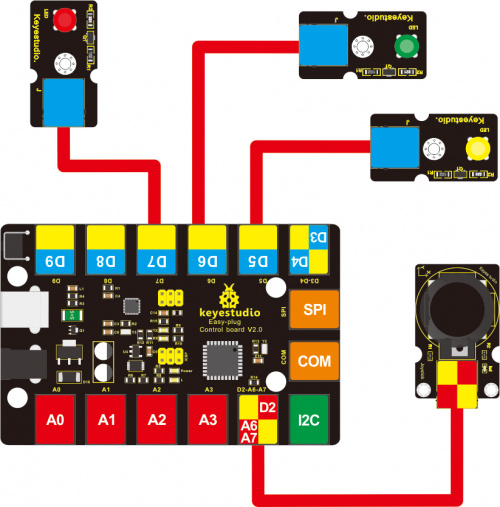
Connect the EASY Plug Joystick module to control board using an RJ11 cable. Then connect the control board to your PC with a USB cable.
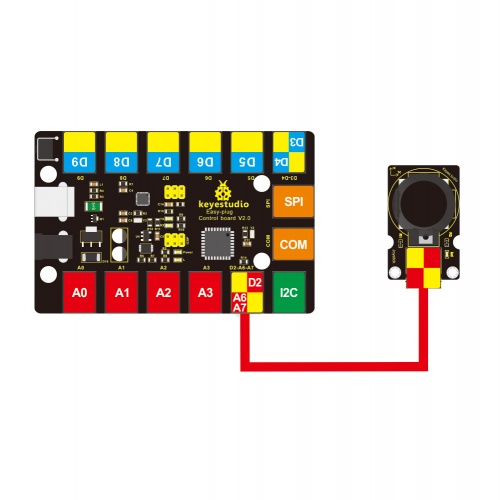
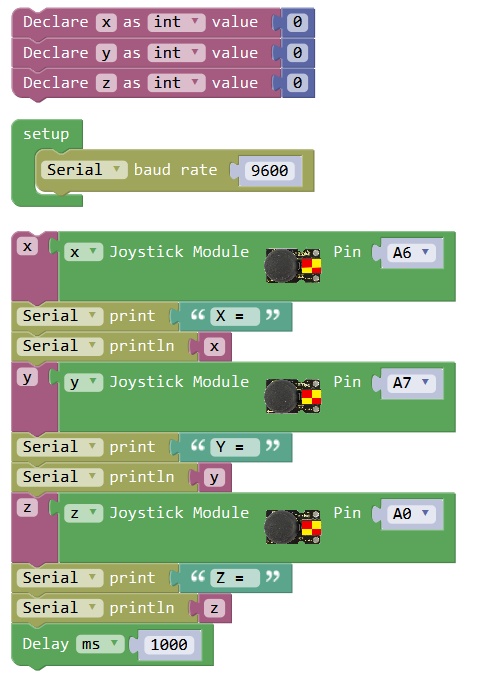
Note: X-axis is connected to A6, Y-axis is connected to A7, Z-axis is default by D2
Upload the Code
What You Should See
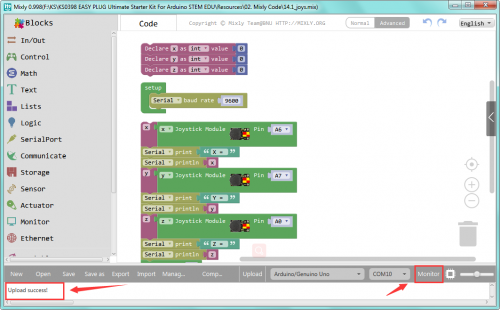
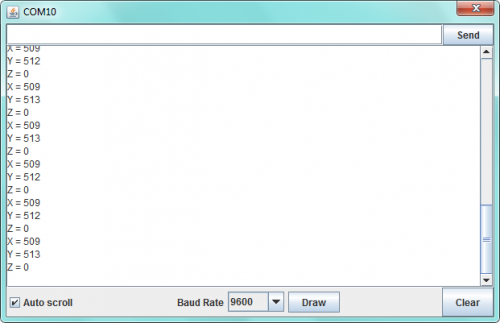
Done uploading the code, open the serial monitor and set the baud rate to 9600. If push the Joystick button towards different direction, you should get the different value.
Controlling LED Light
What You Should See
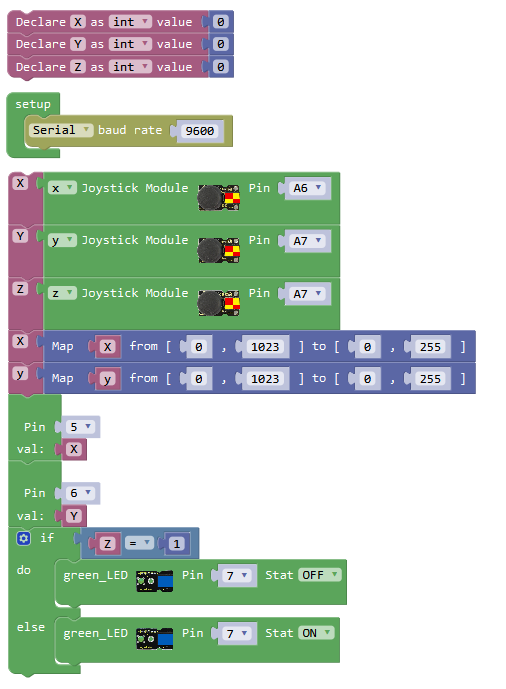
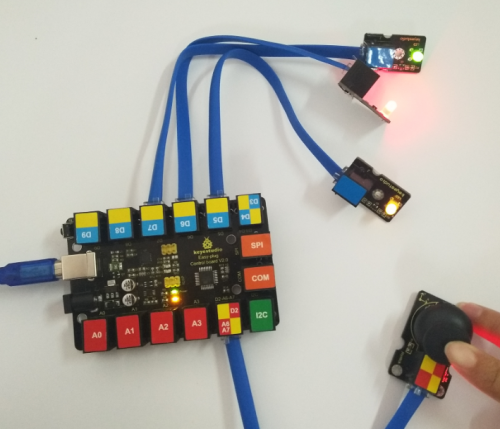
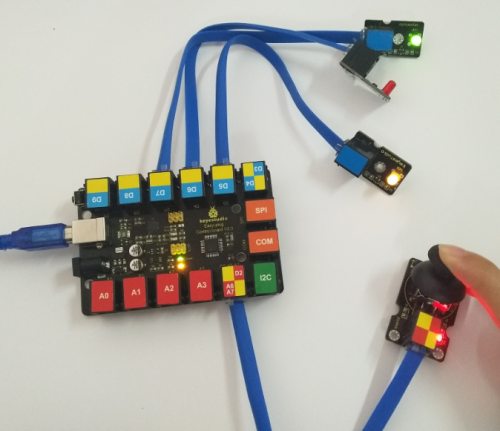
Upload the code successfully, push the Joystick X-axis to downward, the LED light connected to D5 will become off.
If push the Joystick Y-axis to leftward, the LED light connected to D6 will be turned off. Z-axis will control the LED light connected to D7.
Resources
Download the Arduino Code and PDF:
https://drive.google.com/open?id=1sCRYv6Dia4RSFJzRiB5s7vpLPzP7Qzee
Download the Mixly Code and Datasheet:
https://drive.google.com/open?id=1gcQvlwdhcFSPp5KnkhpuxIecmU8yj6Mx
