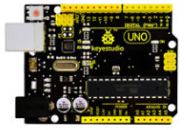
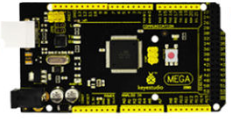
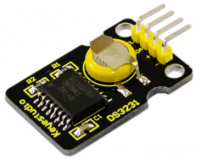
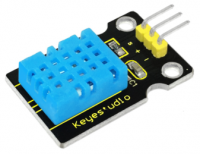
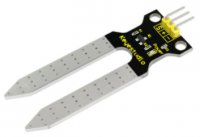
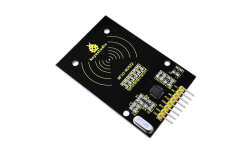
Ks0358 keyestudio Electronic Parts DIY Kit For OTTO Robot Maker
Who is Otto DIY
Otto is an interactive robot that anyone can make! It is completely open source, Arduino compatible and 3D printable. Otto is able to walk, dance, make sounds and avoid obstacles. His small body is in the assembled size, with simple structure. The shelf parts are designed using 3D printer, simple electronics connections (almost no welding required), and basic coding skills. Otto is designed using Autodesk 123D Design software. No need technical knowledge, perfect for beginners. You are able to modify it or even recreate them to make you own Otto robot and then share to the world!
Kit List
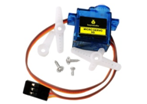
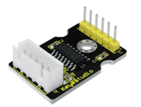
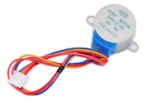
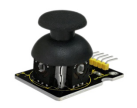
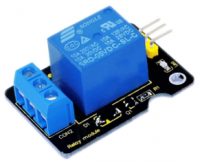
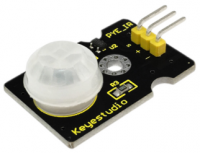
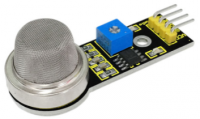
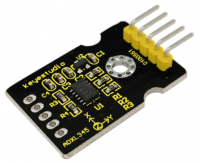
The kit includes everything you need to build your Otto in 1 hour: NO SOLDERING REQUIRED! Note: the print parts are Not Included!
Kit Contents
3D Printing Parts
And then you only need to 3D print 6 parts in total:
- 3D printed head
- 3D printed body
- 3D printed leg x2
- 3D printed right foot
- 3D printed left foot
For the 3D printing parts, you can print them out with 3D printer. That's all simple! Download all .stl files here in Thingiverse. If you do not have a 3d printer, you can always use services like 3dhubs.com or local maker spaces.
Print Settings
Otto is very well designed for 3D printing, so won’t give you trouble if you follow this common parameters:
- Recommended to use a FDM 3D printer with PLA material.
- No need supports or rafts at all.
- Resolution: 0.15mm
- Fill density: 20%
Notes: You can print individually piece by piece to match the colors of the original design or optionally print all at the same time in an area of 14cm x 14cm.
For slicing and generating the g code for the machine free slicer software like Cura or FlashPrintthat comes with the FlashForge Finder 3D printer that we are using (If you are outsourcing the printing, no need to worry about it) After printing, you will need to clean a little bit the legs and feet areas that fix the motors.
