Ks0399(400, 401) keyestudio 37 in 1 Sensor V2.0 Kit for Arduino: Difference between revisions
Keyestudio (talk | contribs) |
Keyestudio (talk | contribs) |
||
| Line 322: | Line 322: | ||
<br> | <br> | ||
===Example Use: Displaying Hello World=== | ===Example Use: Displaying Hello World=== | ||
Revision as of 09:56, 12 February 2019
-Sensor kit for Arduino
-Based on open-source hardware
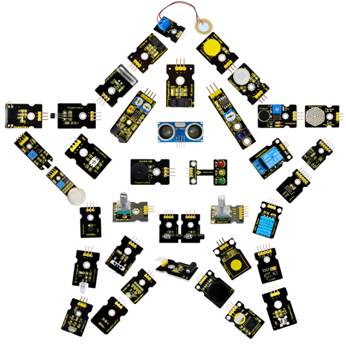
-37 kinds of sensors in one box
-For you to make interesting projects
Kit Introduction
This is an Arduino 37 in 1 sensor learning kit developed by Keyestudio. You will have a set of Arduino's most common and useful electronic sensors and modules.
Inside this box, there are digital and analog sensors, and also some special modules such as ultrasonic, Joystick, relay, acceleration modules, etc.
For each module, there is clear connection diagram and sample code. So even if you are totally new at this, you can get started easily.
The sample codes for this sensor kit are based on ARDUINO because it's open source and easy. And if you are good at this, you can also apply this kit to other MCU development platform, such as 51, STM32, Raspberries Pi. The working principle is pretty much the same.
You may learn about Arduino from basic projects to more complex projects. Now, let us embrace this fascinating world of ARDUINO and learn together!
Kit List
Note: KS0399 kit with no board; KS0401 kit with UNO R3; KS0402 with 2560 MEGA R3
| No. | Product Name | Quantity | Picture |
|---|---|---|---|
| 1 | White LED module | 1 |  |
| 2 | RGB LED module | 1 |  |
| 3 | Traffic light module | 1 | 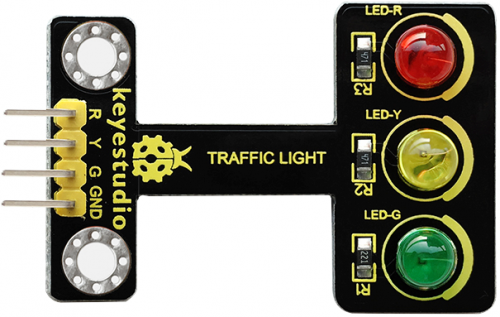 |
| 4 | Button switch module | 1 | thumb |
| 5 | Passive buzzer module | 1 | 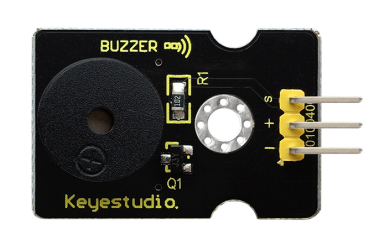 |
| 6 | Capacitive touch module | 1 | 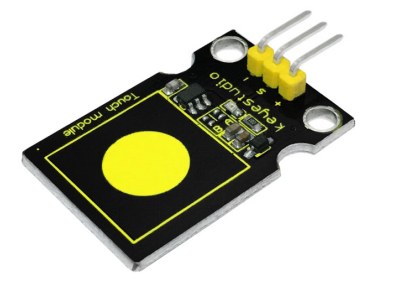 |
| 7 | Crash sensor | 1 | 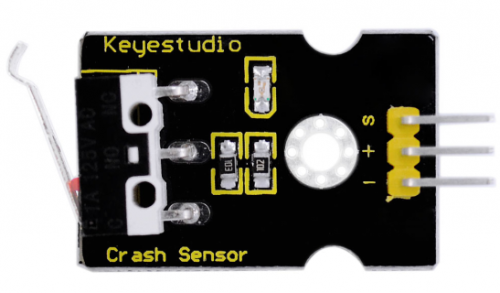 |
| 8 | Knock sensor | 1 | 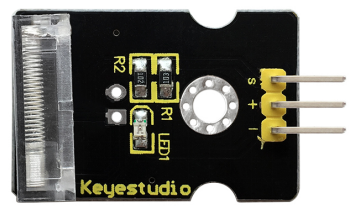 |
| 9 | Photo interrupter module | 1 | 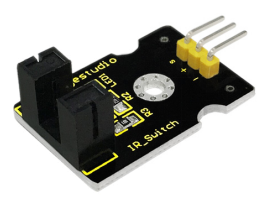 |
| 10 | Ball Tilt switch sensor | 1 | 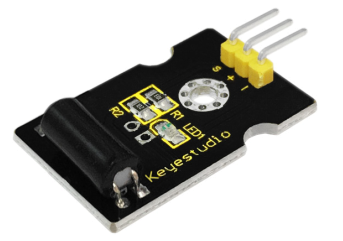 |
| 11 | PIR motion sensor | 1 | 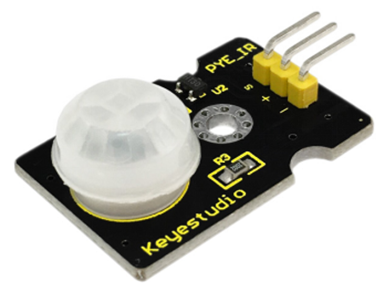 |
| 12 | Reed switch module | 1 | 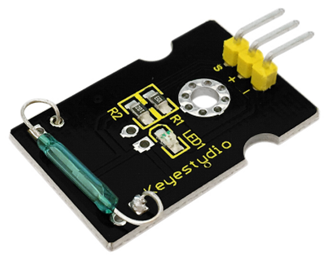 |
| 13 | Hall magnetic sensor | 1 | 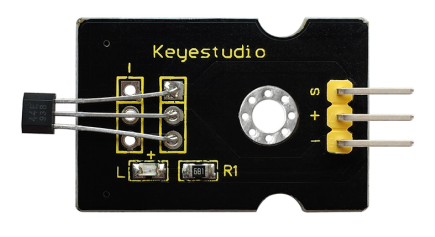 |
| 14 | Line tracking sensor | 1 | 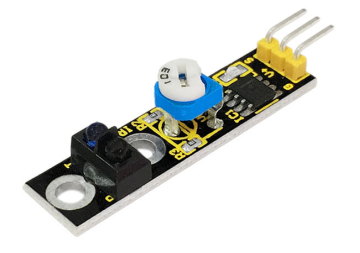 |
| 15 | Flame Sensor | 1 | 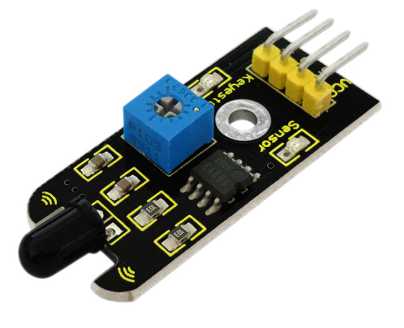 |
| 16 | Obstacle avoidance sensor | 1 | 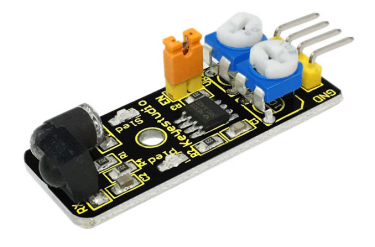 |
| 17 | Photo-resistor sensor | 1 | 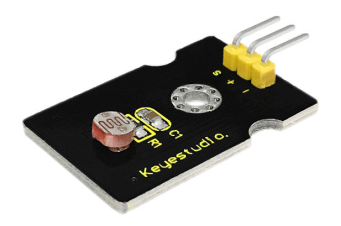 |
| 18 | Microphone sound sensor | 1 | 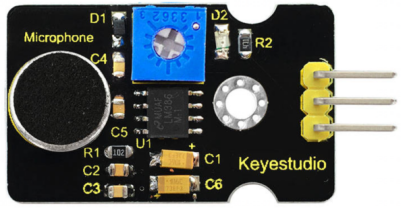 |
| 19 | Rotary encoder sensor | 1 | 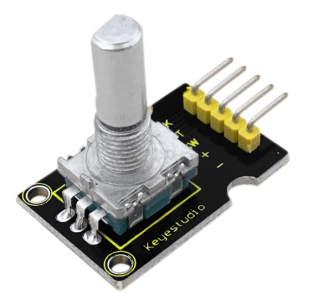 |
| 20 | MQ2 gas sensor | 1 | 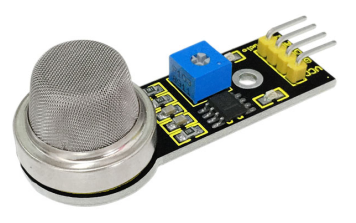 |
| 21 | Steam sensor | 1 | thumb |
| 22 | TEMT 6000 sensor | 1 | 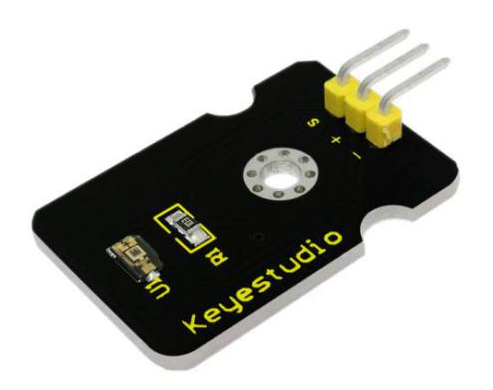 |
| 23 | LM35 temperature sensor | 1 | 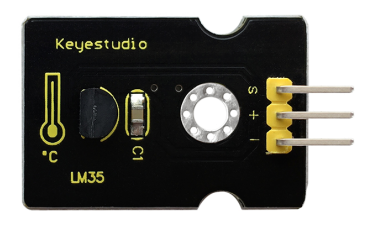 |
| 24 | DHT11 Temperature and Humidity Sensor | 1 | 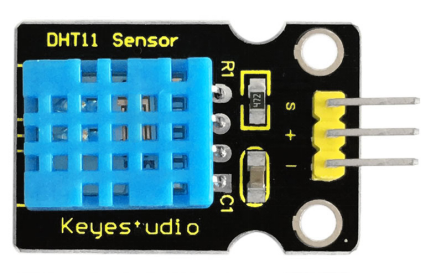 |
| 25 | EASY plug 2812 2x2 full-color RGB Module | 1 | 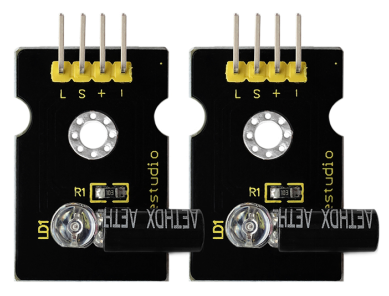 |
| 26 | IR receiver module | 1 | thumb |
| 27 | IR transmitter module | 1 | thumb |
| 28 | Ceramic vibration sensor | 1 | thumb |
| 29 | GUVA-S12SD 3528 Ultraviolet Sensor | 1 | 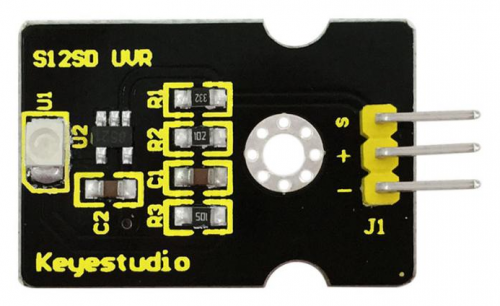 |
| 30 | MMA8452Q Module Acceleration Tilt Sensor | 1 | 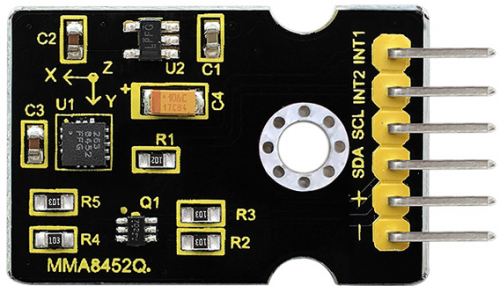 |
| 31 | TMD27713 sensor
ALS Infrared LED Optical Proximity Detection Module |
1 | 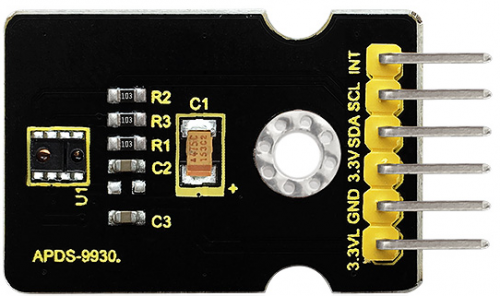 |
| 32 | APDS-9930 Attitude Sensor Module | 1 | 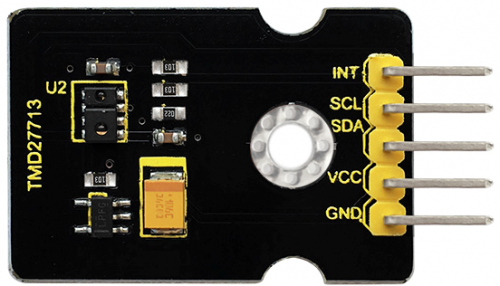 |
| 33 | Potentiometer sensor | 1 | 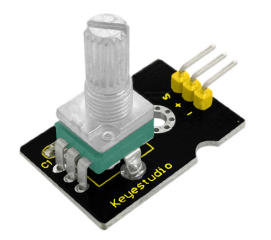 |
| 34 | DS3231 Clock module | 1 | 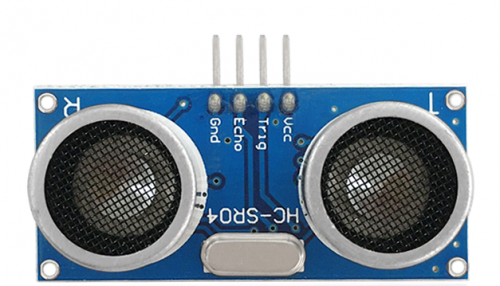 |
| 35 | Joystick module | 1 | thumb |
| 36 | Single relay module | 1 | thumb |
| 37 | HC-SR04 ultrasonic sensor | 1 | thumb |
Getting Started with Arduino
Installing Arduino Software
When you get the UNO development board, first you should install the Arduino software and driver.
We usually use the Windows software Arduino 1.5.6 version. You can download it from the link below:
https://www.arduino.cc/en/Main/OldSoftwareReleases#1.5.x
Or you can browse the ARDUINO website to download the latest version from this link, https://www.arduino.cc, pop up the following interface.
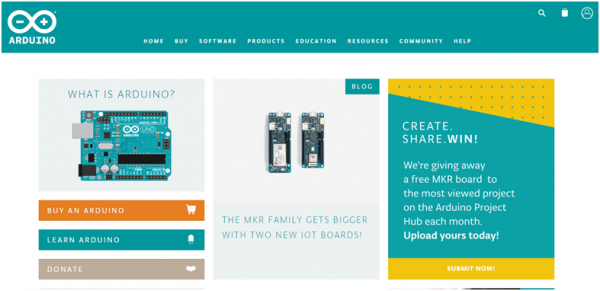
Then click the SOFTWARE on the browse bar, you will have two options ONLINE TOOLS and DOWNLOADS.
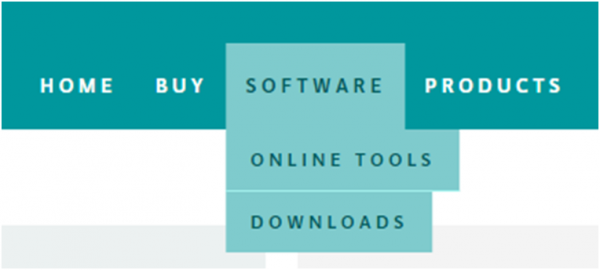
Click DOWNLOADS, it will appear the latest software version of ARDUINO 1.8.5 shown as below.
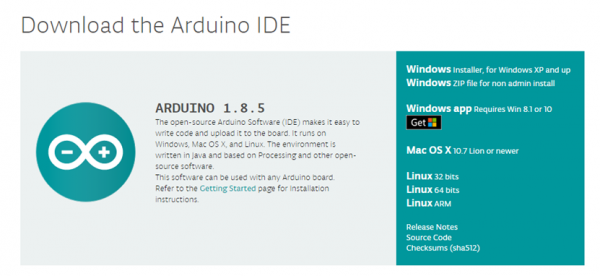
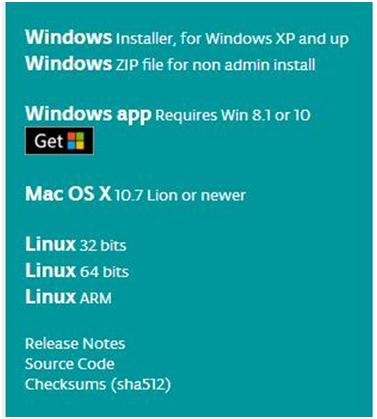
In this software page, on the right side you can see the version of development software for different operating systems. ARDUINO has a powerful compatibility. You should download the software that is compatible with the operating system of your computer.
We will take WINDOWS system as an example here. There are also two options under Windows system, one is installed version, the other is non-installed version.
For simple installed version, first click Windows Installer, you will get the following page.

This way you just need to click JUST DOWNLOAD, then click the downloaded file to install it.
For non-installed version, first click Windows ZIP file, you will also get the pop-up interface as the above figure.
Click JUST DOWNLOAD, and when the ZIP file is downloaded well to your computer, you can directly unzip the file and click the icon of ARDUINO software to start it.
Installing Arduino (Windows)
Install Arduino with the exe. Installation package. Here we provide you with Arduino-1.5.6-r2-windows package, you can directly click the icon to install it.
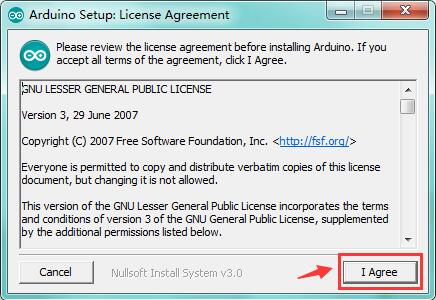
Click“I Agree”to see the following interface.
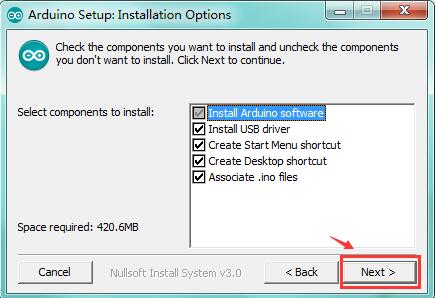
Click “Next”. Pop up the interface below.
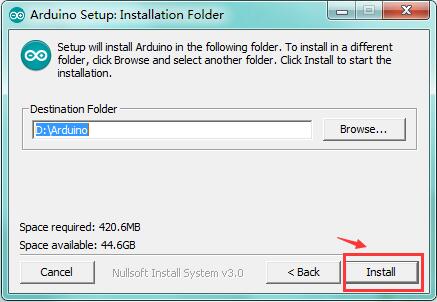
You can press Browse… to choose an installation path or directly type in the directory you want.
Then click “Install” to initiate installation.
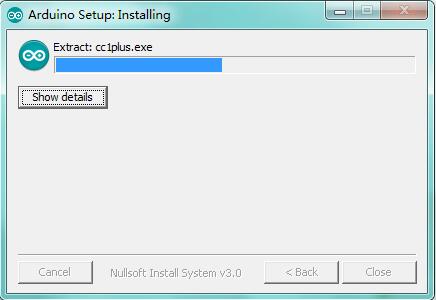
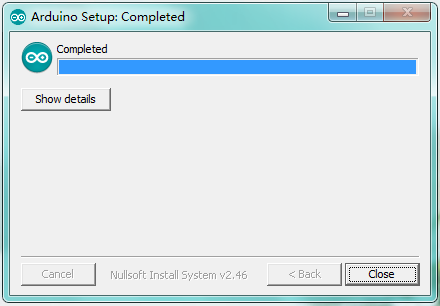
Wait for the installing process, if appear the interface of Window Security, just continue to click Install to finish the installation.
Installing Driver
Next, we will introduce the driver installation for development board. The driver installation may have slight differences in different computer systems. So in the following let’s move on to the driver installation in the WIN 7 system.
The Arduino folder contains both the Arduino program itself and the drivers that allow the Arduino to be connected to your computer by a USB cable. Before we launch the Arduino software, you are going to install the USB drivers.
Plug one end of your USB cable into the Arduino and the other into a USB socket on your computer.
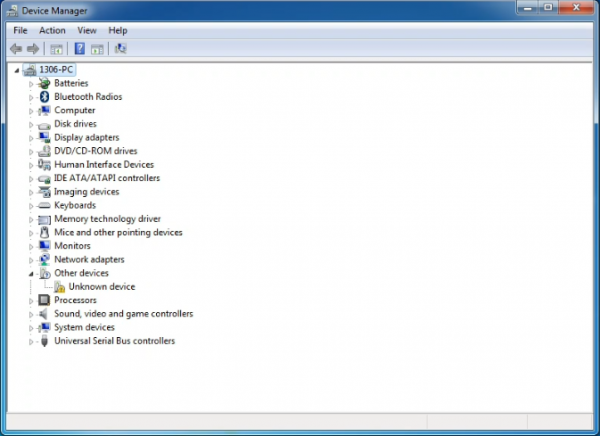
When you connect the UNO board to your computer at the first time, right click the icon of your “Computer” —>for “Properties”—> click “Device manager”, under “Other Devices”, you should see an icon for “Unknown device” with a little yellow warning triangle next to it. This is your Arduino.
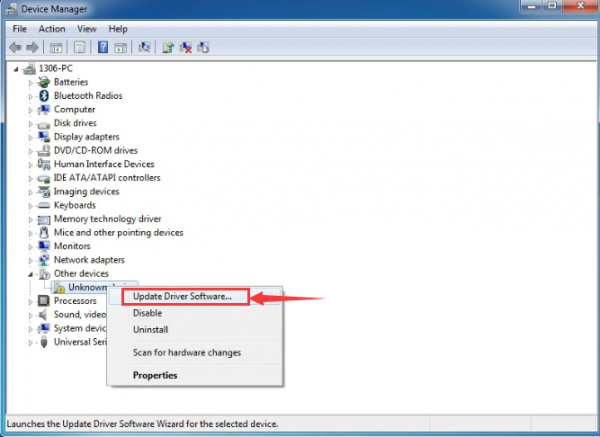
Then right-click on the device and select the top menu option (Update Driver Software...) shown as the figure below..
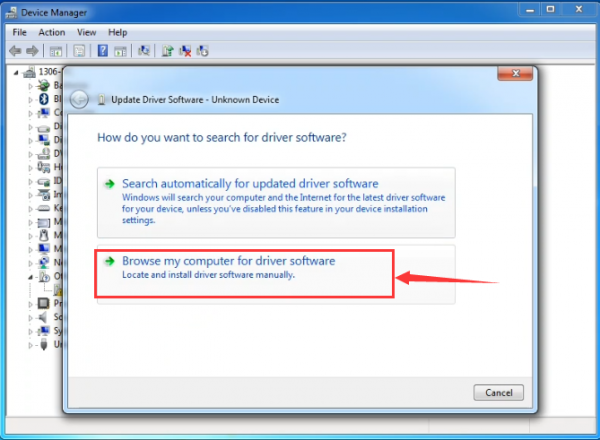
It will then be prompted to either “Search Automatically for updated driversoftware” or “Browse my computer for driver software”. Shown as below. In this page, select “Browse my computer for driver software”.
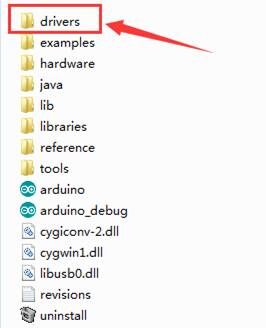
After that, select the option to browseand navigate to the “drivers” folder of Arduino installation.
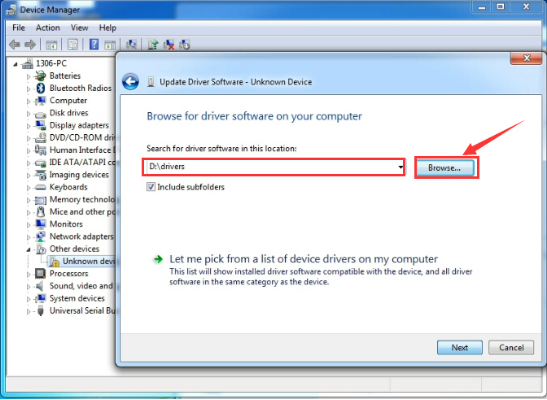
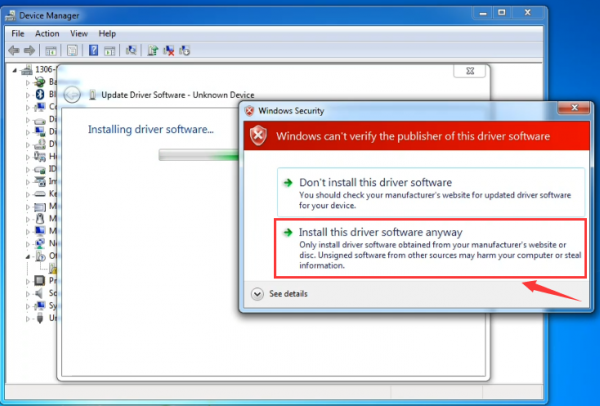
Click “Next” and you may get a security warning, if so, allow the software to be installed. Shown as below.
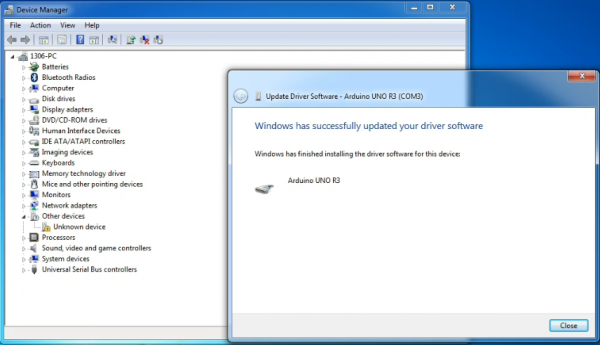
Once the software has been installed, you will get a confirmation message. Installation completed, click “Close”.
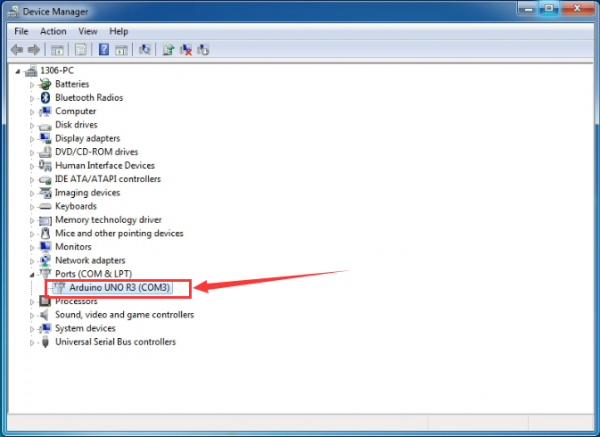
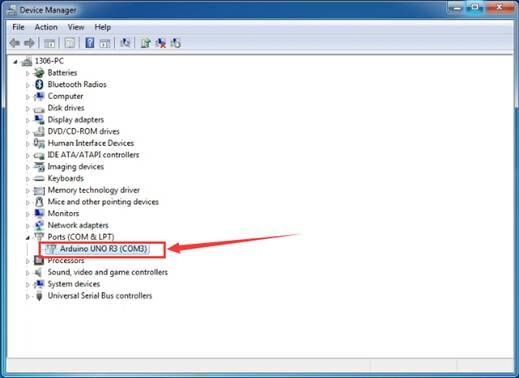
Up to now, the driver is installed well. Then you can right click “Computer” —>“Properties”—>“Device manager”, you should see the device as the figure shown below.
Example Use: Displaying Hello World
Overview
It is very simple. You can use only a main board and a USB cable to display the “Hello World!”. It is a communication experiment between the control board and PC. This is an entry experiment for you to enter the Arduino programming world.
Note that need to use a serial communication software, Arduino IDE.
In the above part, you can check the detailed use of Arduino IDE.
Component Required
- UNO R3 control board*1
- USB cable*1
Component Introduction
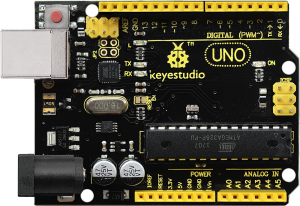
Keyestudio UNO R3 development board is a microcontroller board based on the ATmega328P (datasheet), fully compatible with ARDUINO UNO REV3. It has 14 digital input/output pins (of which 6 can be used as PWM outputs), 6 analog inputs, a 16 MHz quartz crystal, a USB connection, a power jack, 2 ICSP headers and a reset button.
It contains everything needed to support the microcontroller; simply connect it to a computer with a USB cable or power it with a AC-to-DC adapter or battery to get started.
Connect It Up
Connect the UNO board to your computer using the USB cable. The green power LED should go on.

Upload the Code
Below is an example code for displaying the Hello World!
int val;
int ledpin=13;
void setup()
{
Serial.begin(9600);
pinMode(ledpin,OUTPUT);
}
void loop()
{
val=Serial.read();
if(val=='R')
{
digitalWrite(ledpin,HIGH);
delay(500);
digitalWrite(ledpin,LOW);
delay(500);
Serial.println("Hello World!");
}
}
Select the Arduino Board
Open the Arduino IDE, you’ll need to click the “Tools”, then select the Board that corresponds to your Arduino.

Select your serial port
Select the serial device of the Arduino board from the Tools | Serial Port menu.
Note: to avoid errors, the COM Port should keep the same as the Ports shown on Device Manager.

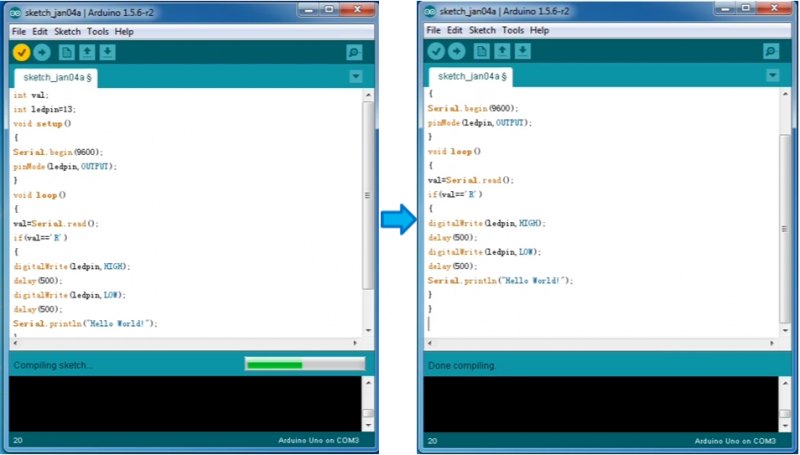
Then click verify button to check the errors. If compiling successfully, the message "Done compiling." will appear in the status bar.
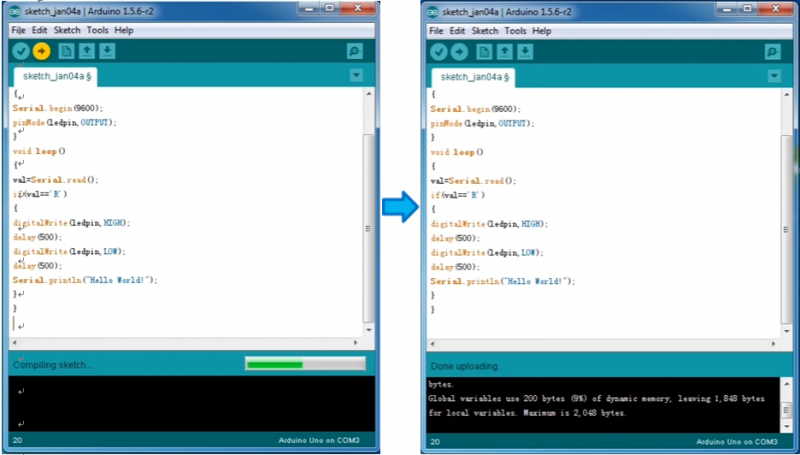
After that, click the “Upload” button to upload the code. Wait a few seconds - you should see the RX and TX leds on the board flashing. If the upload is successful, the message "Done uploading." will appear in the status bar.
(Note: If you have an Arduino Mini, NG, or other board, you'll need to physically present the reset button on the board immediately before pressing the upload button.)
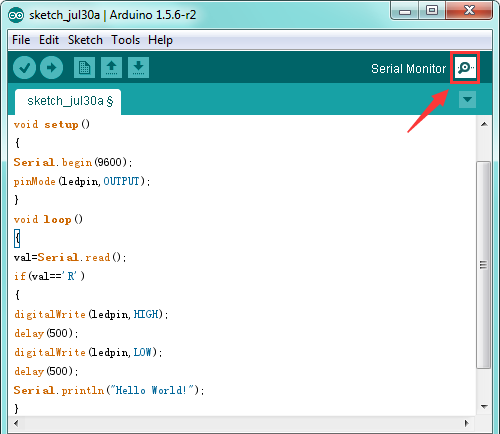
Open the Serial Monitor
After that, click the serial monitor button to open the serial monitor.
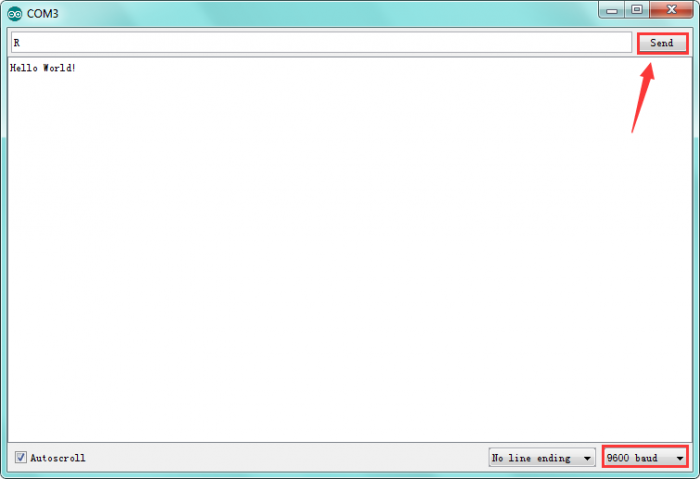
Then set the baud rate as 9600, enter an “R” and click Send, you should see the RX led on the board blink once, and then D13 led blink once, finally "Hello World!" is showed on the monitor, and TX led blink once.
Congrats! Your first simple program is complete.
Project Details
Project 1: LED Flash
Introduction LED has wide applications. Most signal lights we saw in our daily life use LED as its major light source. In today’s experiment, we are going to use Arduino to make LED module flashing.
Components list: Arduino UNO * 1 LED module * 1 Jumper wire *3
Components Introduction: This is a special LED module. When you connect it to ARDUINO development board, after program, it can emit beautiful light. Of course, you can also control it using PWM. It will be like fireflies at night. Isn’t cool? We can also combine it with other sensors to do interesting interactive experiments.
Specifications: Control interface: Digital Operating voltage: DC 3.3-5V Pin pitch:2.54mm Emitting color: white
Hardware Connection: Connect the negative pin of LED module to GND, positive pin to VCC (3.3-5V), Signal pin to digital pin 7.
