KS(3001...3012)Assemble the Housing of Raspberry Pi 4: Difference between revisions
Keyestudio (talk | contribs) |
Keyestudio (talk | contribs) |
||
| (2 intermediate revisions by the same user not shown) | |||
| Line 14: | Line 14: | ||
<br>[[File:图片13001-2.png|500px|frameless|thumb]]<br> (figure 1) | |||
<br>[[File:QQ图片202108261632.png|500px|frameless|thumb]]<br> (figure 2) | |||
<br>[[File:图片13001-3.png|500px|frameless|thumb]]<br> (figure 3) | |||
=== Assemble a Fan === | === Assemble a Fan === | ||
| Line 25: | Line 24: | ||
Note: refer to the figure 4 and make fan’s back upward. | Note: refer to the figure 4 and make fan’s back upward. | ||
<br>[[File:图片13001-4.png|500px|frameless|thumb]]<br> | |||
<br>[[File:图片13001-5.png|500px|frameless|thumb]]<br> (figure 4) | |||
== Prepare the following parts we need == | == Prepare the following parts we need == | ||
<br>[[File:图片13001-6.png|500px|frameless|thumb]]<br> | |||
| Line 37: | Line 38: | ||
<br>[[File:图片13001-7.png|500px|frameless|thumb]]<br> | |||
Don’t forget to screw the bottom.(figure 8) | Don’t forget to screw the bottom.(figure 8) | ||
<br>[[File:图片13001-8.png|500px|frameless|thumb]]<br> | |||
== Paste Colloidal Particles == | == Paste Colloidal Particles == | ||
| Line 58: | Line 59: | ||
<br>[[File:图片13001-11.png|500px|frameless|thumb]]<br> | |||
Latest revision as of 17:07, 26 August 2021
Preparations:
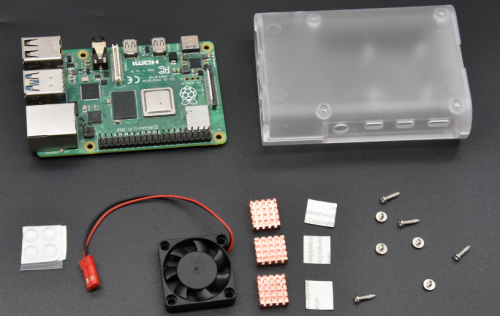
What you need:
Detailed Steps
Stick Heat Sink
Take out three heat sinks and three thermal conductive adhesives.(figure 1)
Glue conductive adhesives on the heat sinks.(figure 2)
Then stick heat sinks to the Raspberry Pi 4.(figure 3)
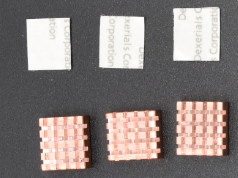
(figure 1)

(figure 2)
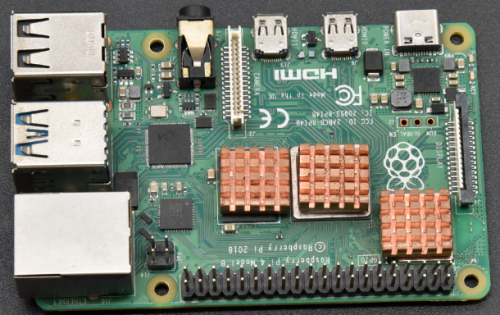
(figure 3)
Assemble a Fan
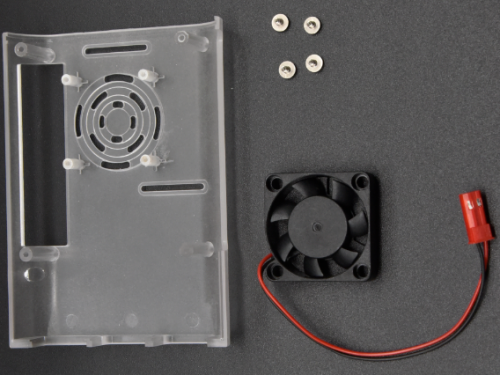
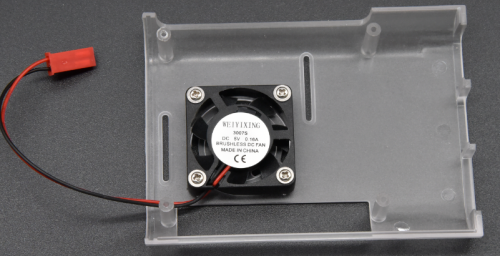
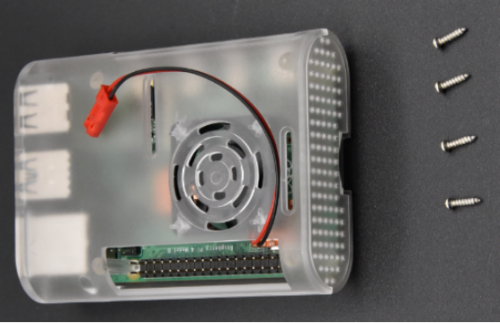
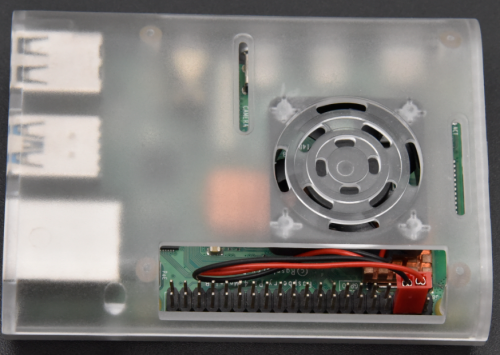
Fix the fan onto the housing with screws, as shown below; Note: refer to the figure 4 and make fan’s back upward.
Prepare the following parts we need
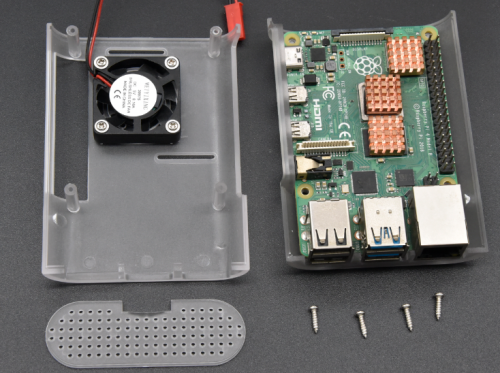
Cover the Raspberry Pi 4 with the housing
And place the oval plastic board as follows;
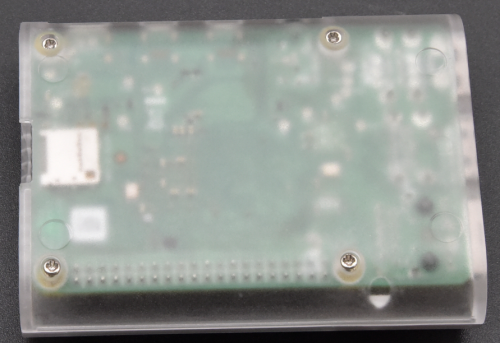
Screw them together. (figure 7)
Don’t forget to screw the bottom.(figure 8)
Paste Colloidal Particles
Then glue colloidal particles in the four grooves, as shown below;
图 图
Wire up
Respectively attach the red wire, black wire of the fan to 5V and GND of the Raspberry Pi, as shown below: Note: don’t reverse the negative and positive poles of the fan.
